As an artist, crafter, and lifelong learner, I love taking art classes when I have capacity for them. By and large, I am a self-taught creator, having had virtually no formal training during my school years. But as an adult, I really enjoy learning new skills and techniques and utilizing them in concert with the crafter’s toolkit I have already developed. For this jewelry class, I learned about metalworking at the Oakland school for industrial art classes known as The Crucible. Specifically, I took a 15-hour course (5 classes held over 5 weeks with 3 hour sessions on Tuesday evenings) called Jewelry and Metals I (the introductory level class to metalworking for jewelry applications).


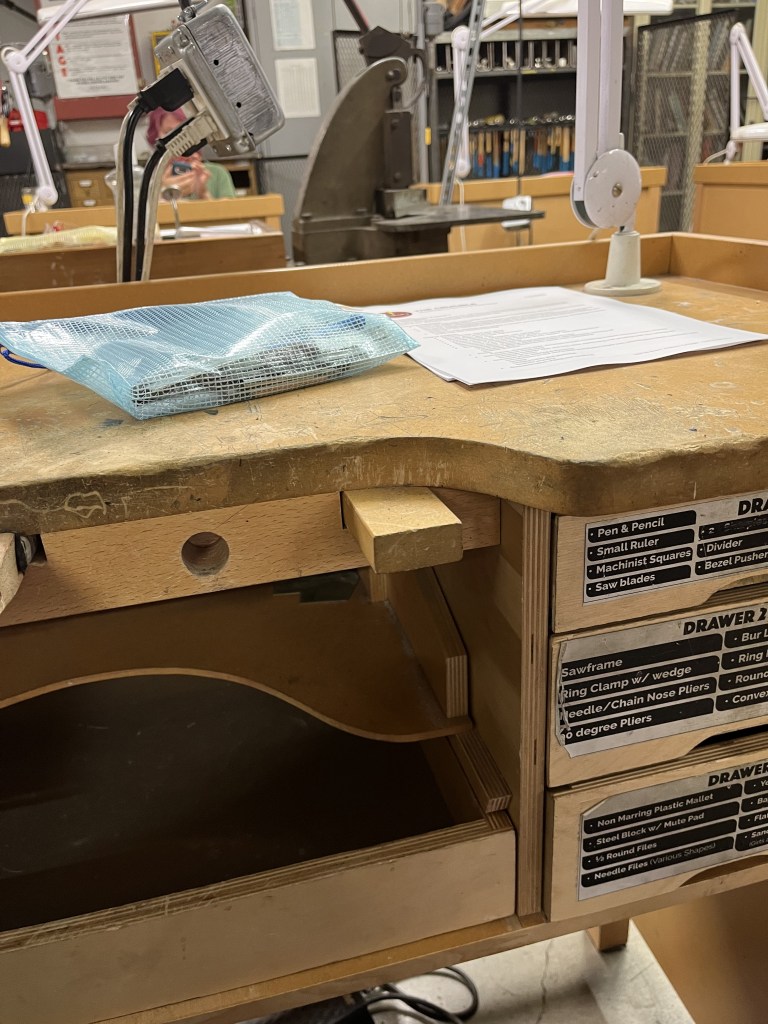
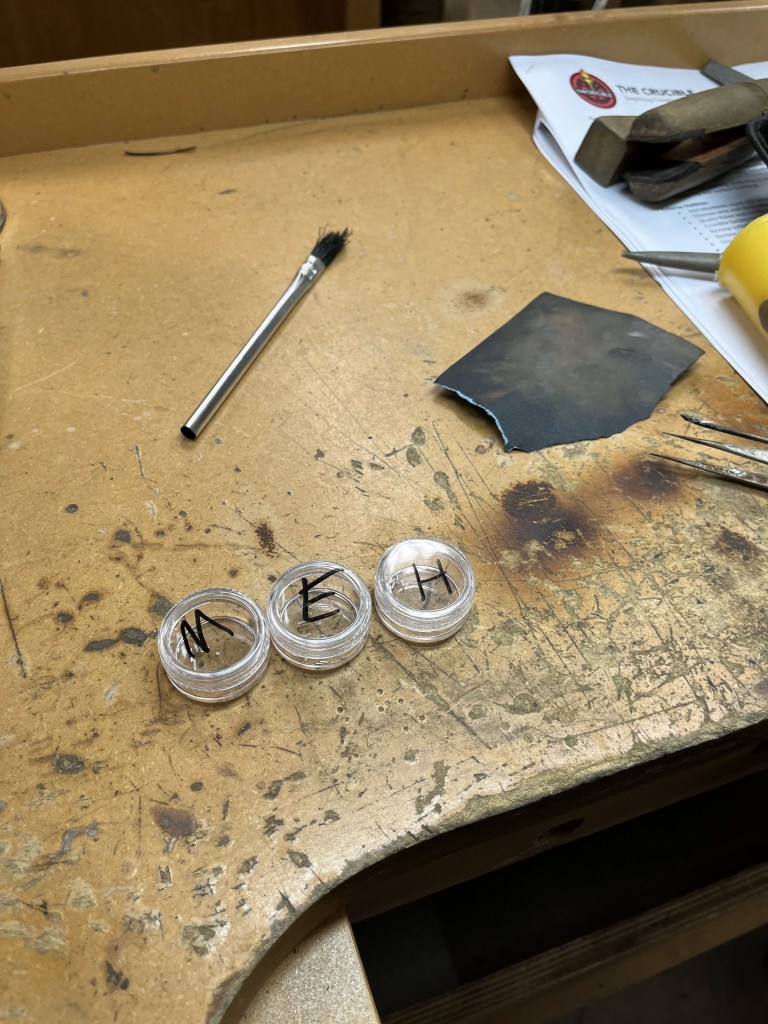
The ultimate goal of the class was to create a ring of your own design (but this could be modified to earrings, a pendant, or something else if desired). We were each given our own set up supplies to keep, including pieces of different types of metal (brass, copper, nickel, and sterling silver for our final project), tools such as tweezers, a pick, and tiny saw replacements for the jewelry saw, and containers for solder (supplies were provided in bags like my blue bag pictured in the images above). We started out by learning the basics of how to temper metal (basically, heat metal using a flame to make it workable). After tempering, metal was set in the “pickle” (a chemical bath to remove impurities). Once the metal was neutralized in water and dried after these processes, we work hardened the metal by hammering (this could be done with or without various stamps). This strengthened the metal and could impart interesting patterns and designs. Our classes often began with a demo of the skills we were learning performed by the instructor and ended with us practicing those newly learned skills on our pieces of metal.
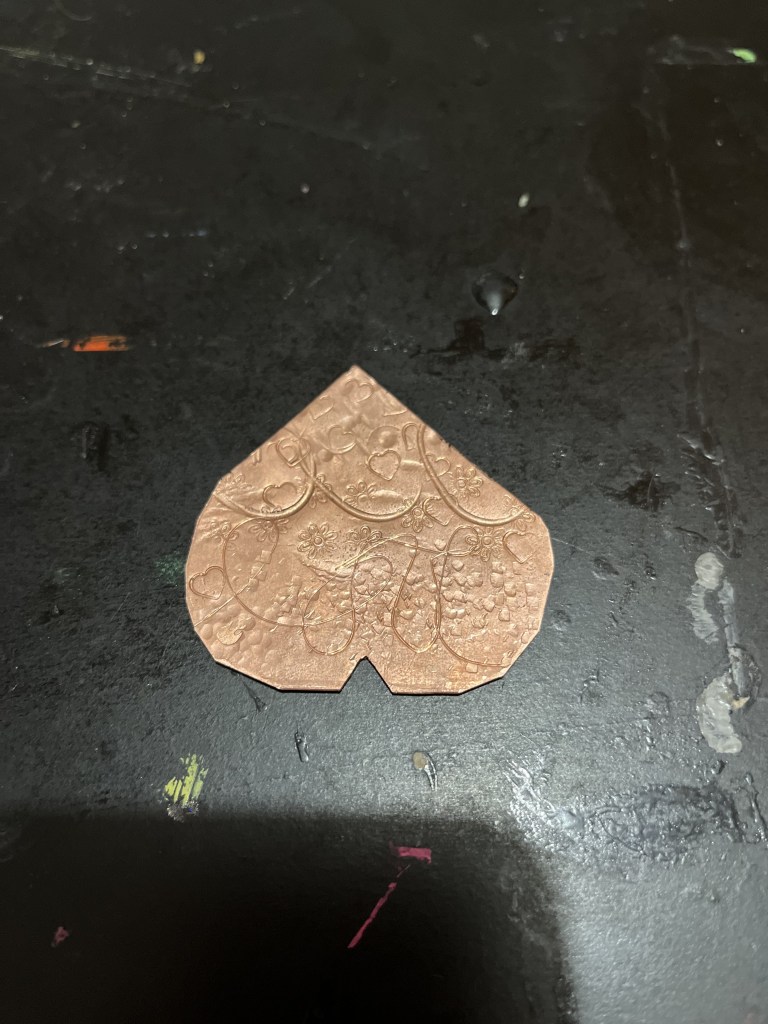
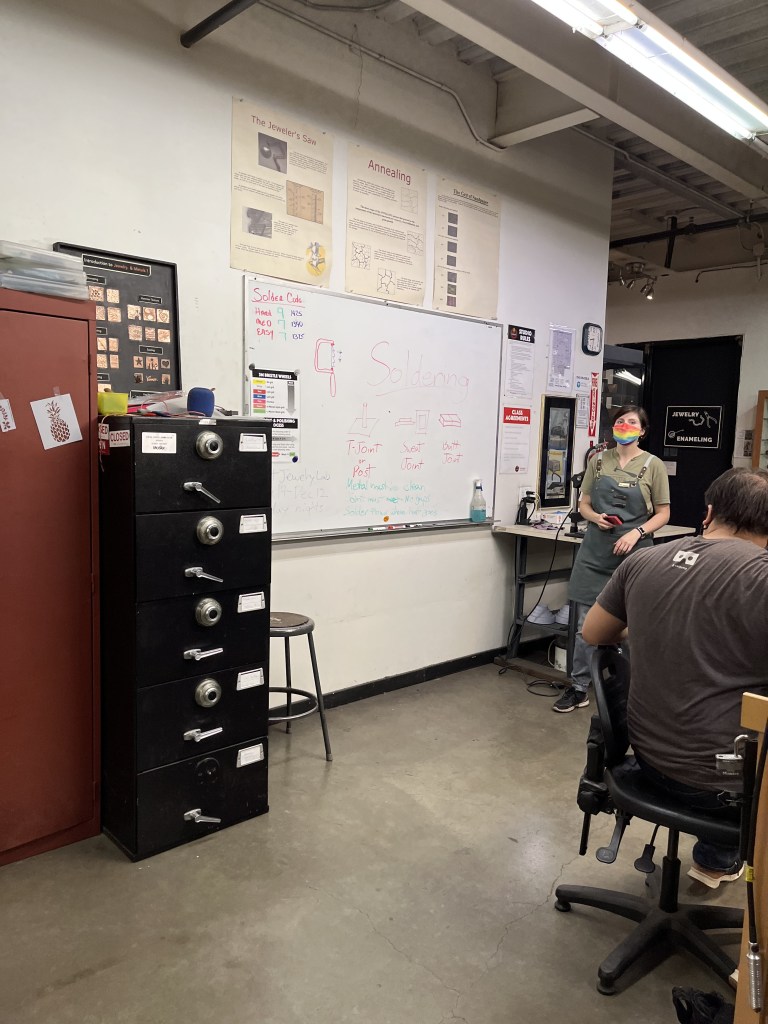
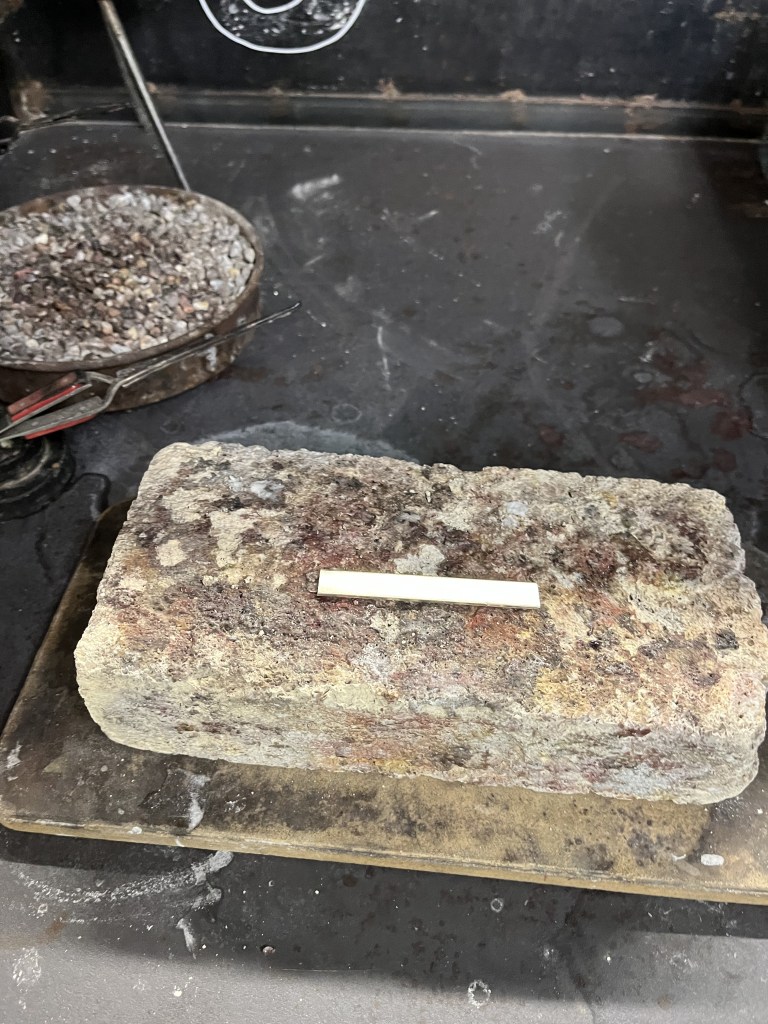
With each week we continued to build upon our skillset with the fourth class focusing on design of and preparation for our final silver ring project and the fifth and final class featuring execution of that original design. In addition to tempering, pickling, and hardening we learned about imprinting designs (using a cylindrical press), soldering (with a lesson on soldering various types of joints pictured above), metal cutting (using a jewelry saw for free-form shapes like the heart pictured above or chopping equipment for straight edges), drilling (for cutting holes in metal for earrings or for cutting a design in the metal), and finally various techniques for polishing the metal of the completed piece.
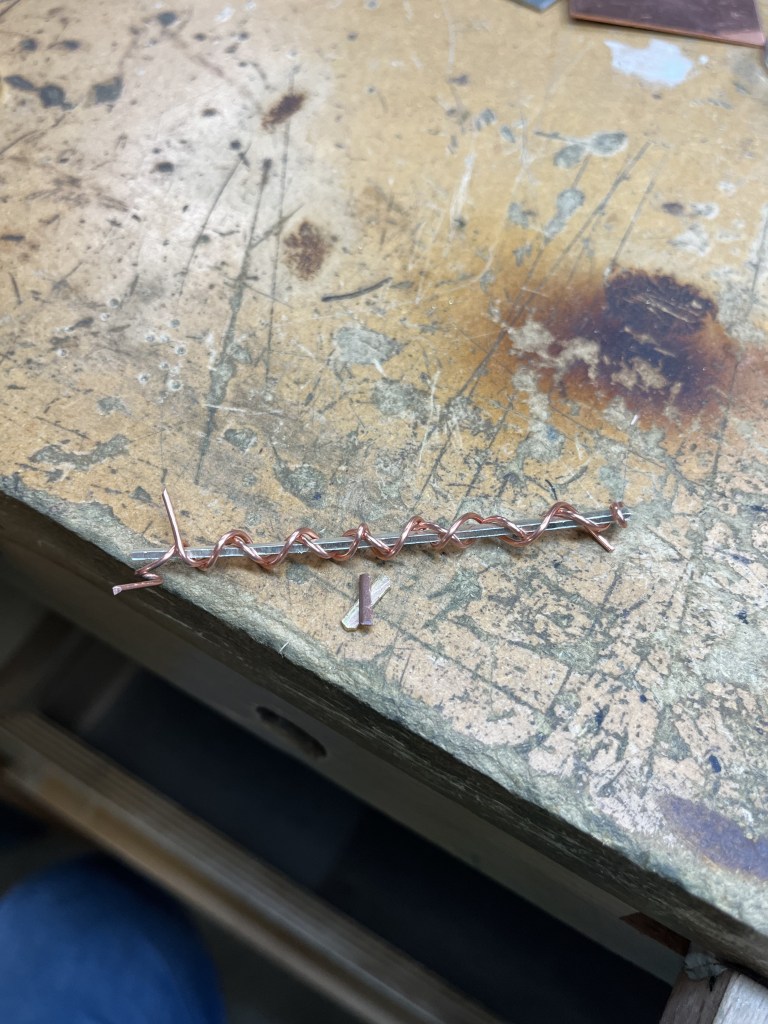
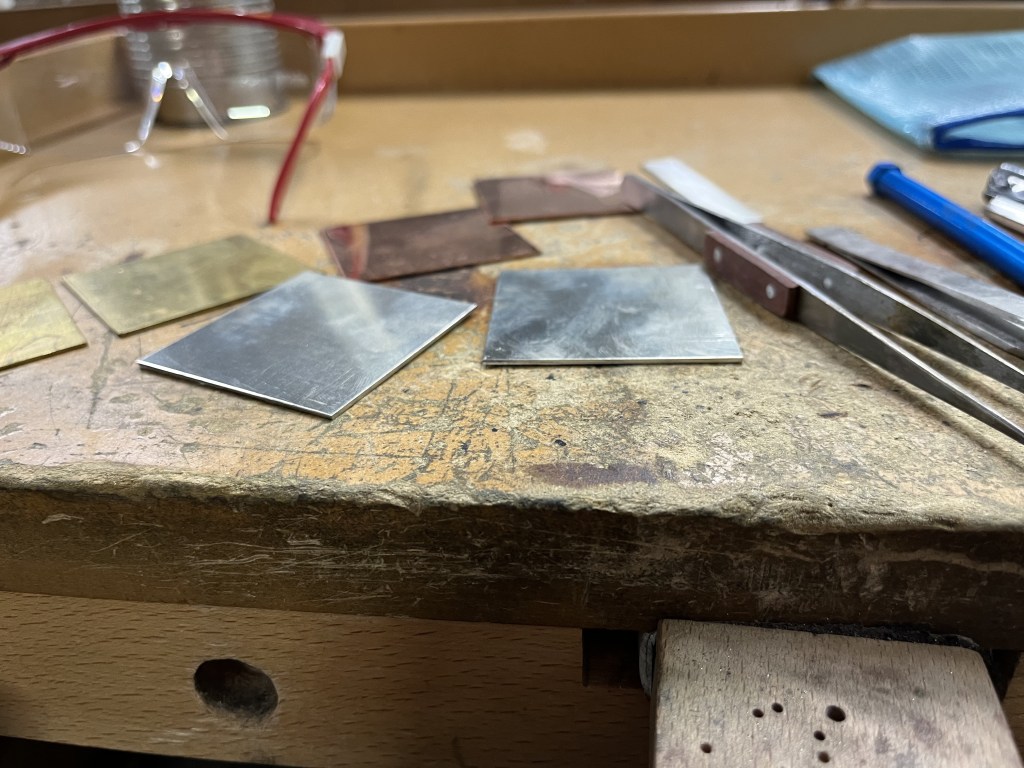
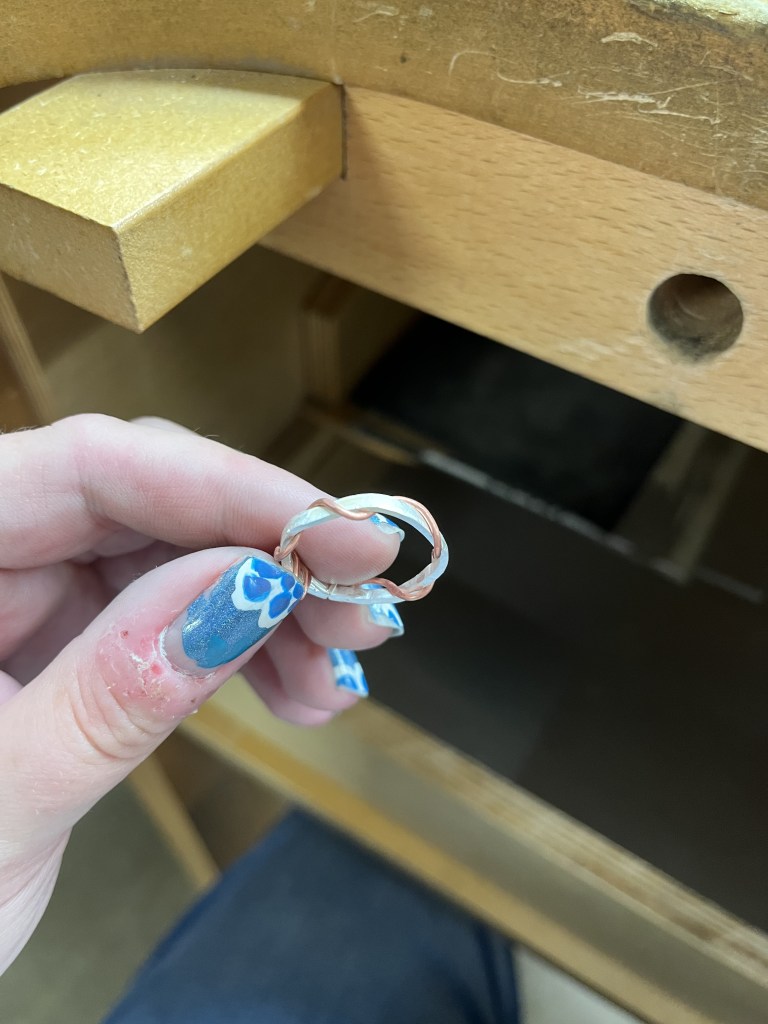
For my ring design, I was inspired to create something that reminded me of the double helix of DNA. To achieve this design, I wrapped my silver with wire in a helical form. I made a chromosome made out of two pieces of different colored metal (featured below the wire-wrapped metal strip above) to solder to the helical DNA ring but ultimately abandoned that ornamentation as I struggled with soldering it to the entwined ring base.

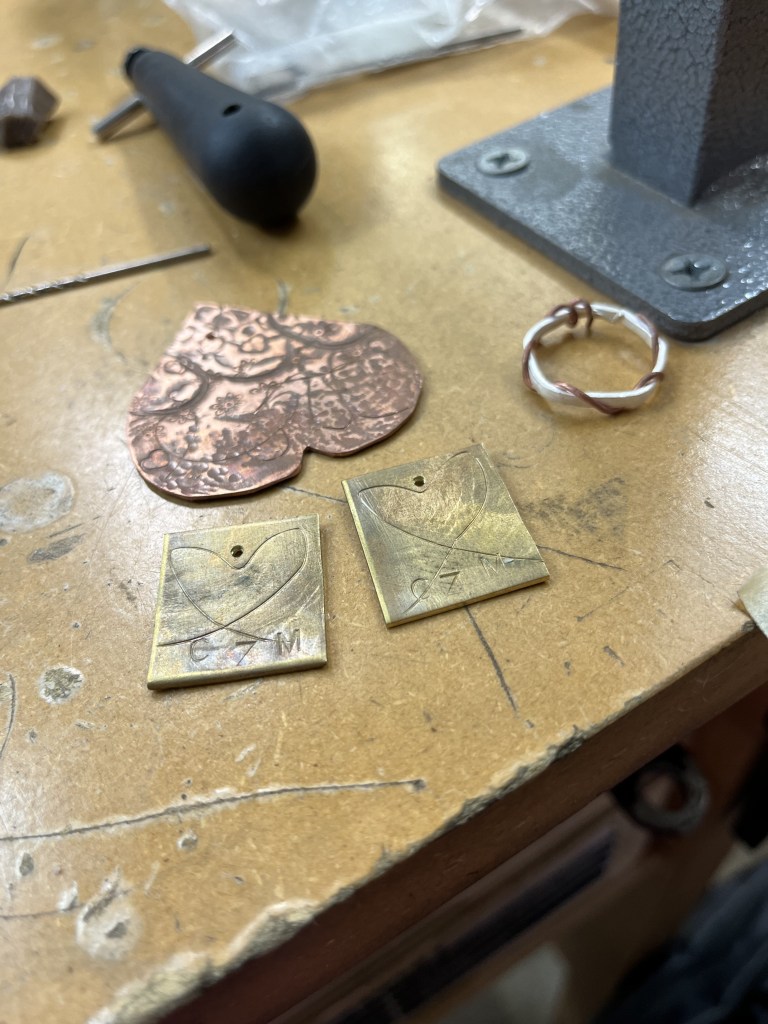
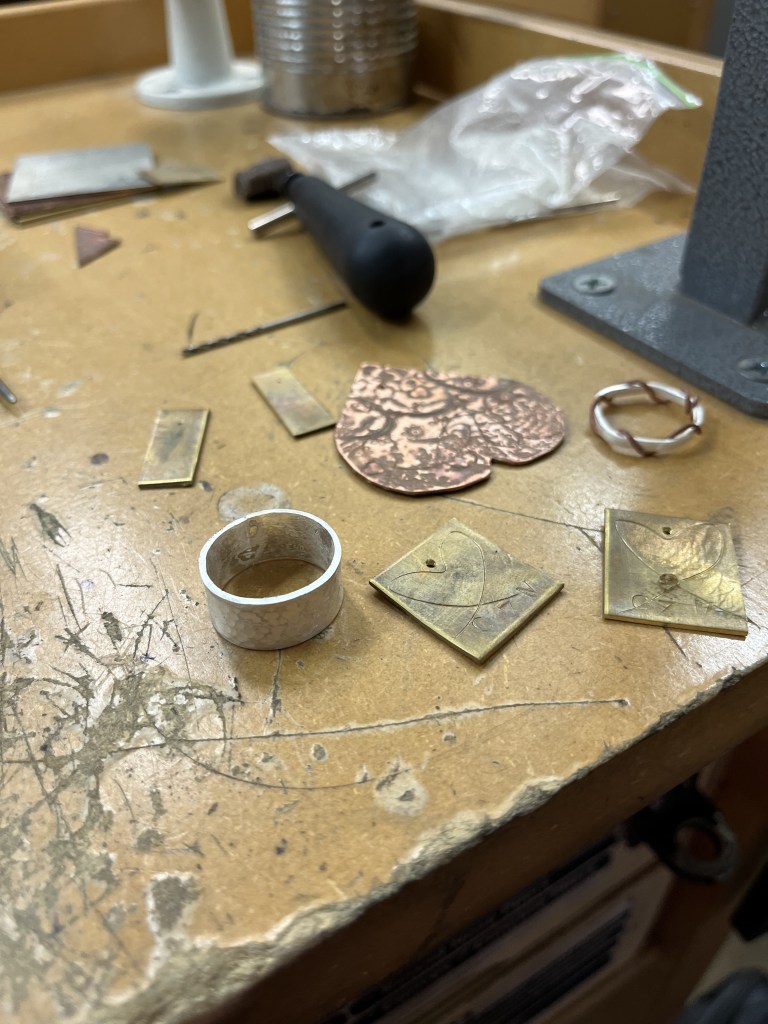
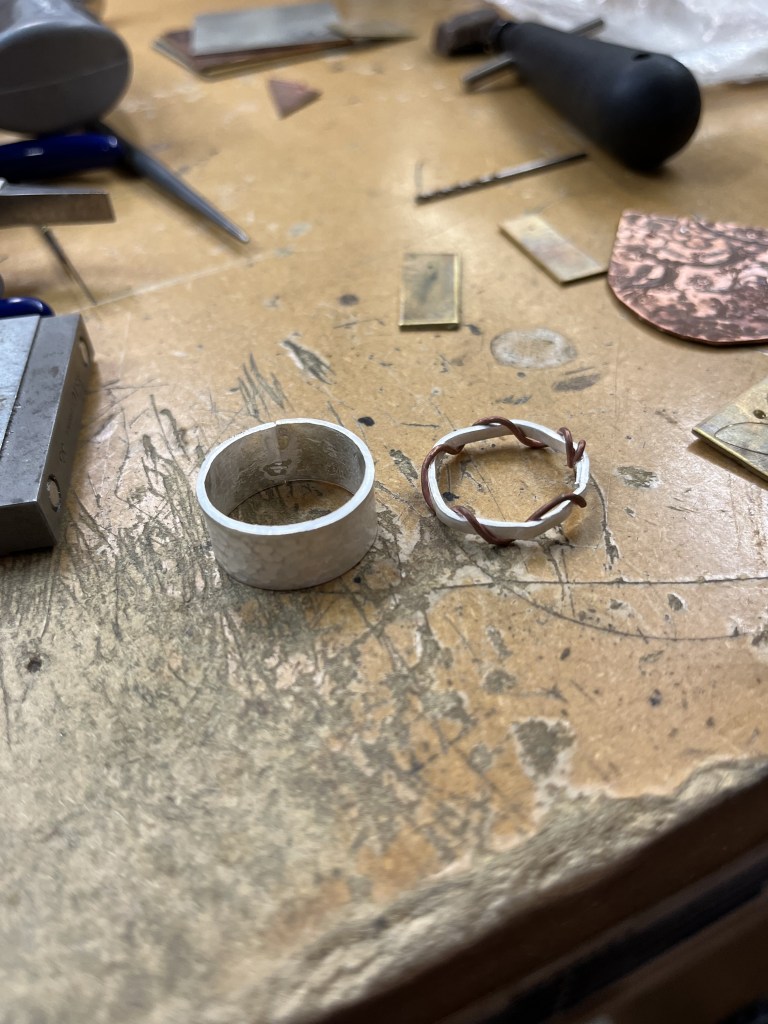
In addition to my entwined final ring, I made earrings with imprinted hearts (made from a wire design hammered into the metal) and my initials (applied by hammering stamps of the individual letters), a pendant from my “love” heart piece, and a heftier ring with some fun hammered imprinting. I really enjoyed this metalworking for jewelry course and am really happy with the jewelry that I made. I would enjoy taking more advanced metalworking courses or getting more practice jewelry studio time in the future to develop this skillset for more complicated designs.
