Perhaps one of my favorite hobbies is making handmade cards. I make these for special occasions, often birthdays and holidays, as although I love this hobby it is very time consuming and labor intensive.
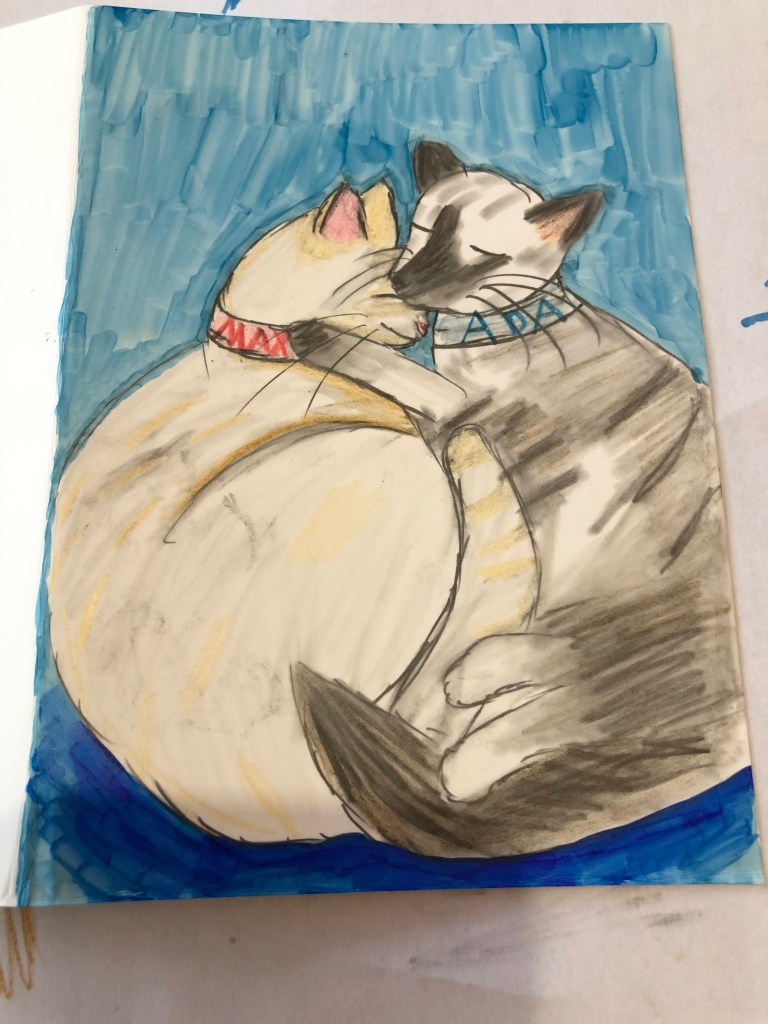

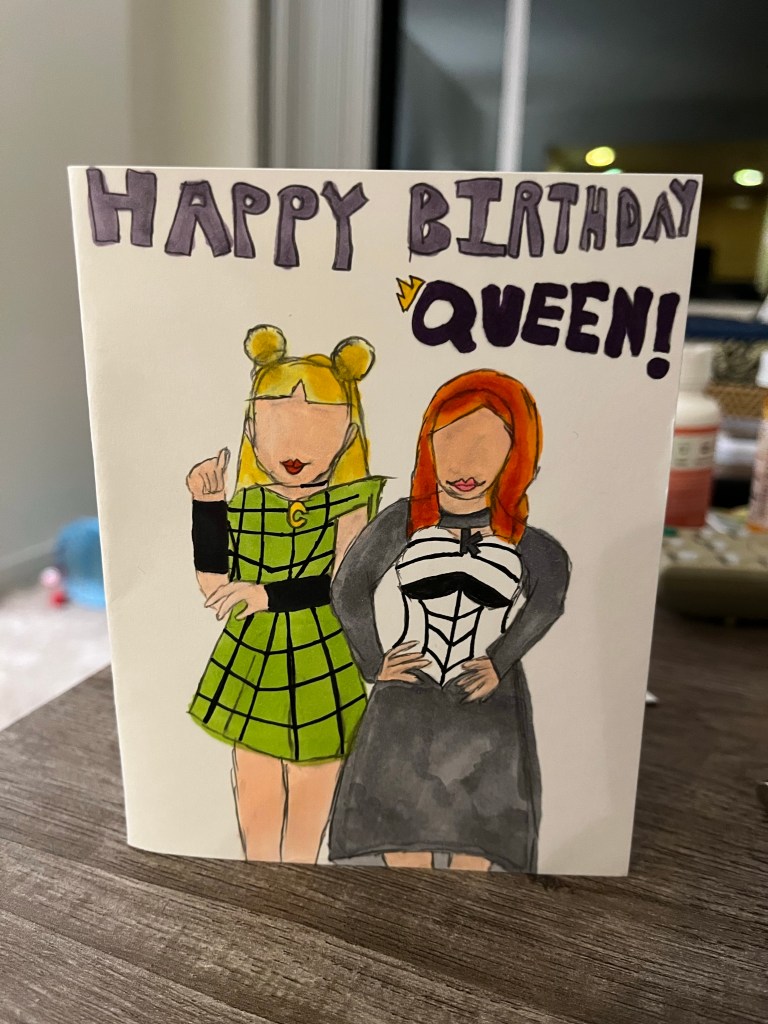
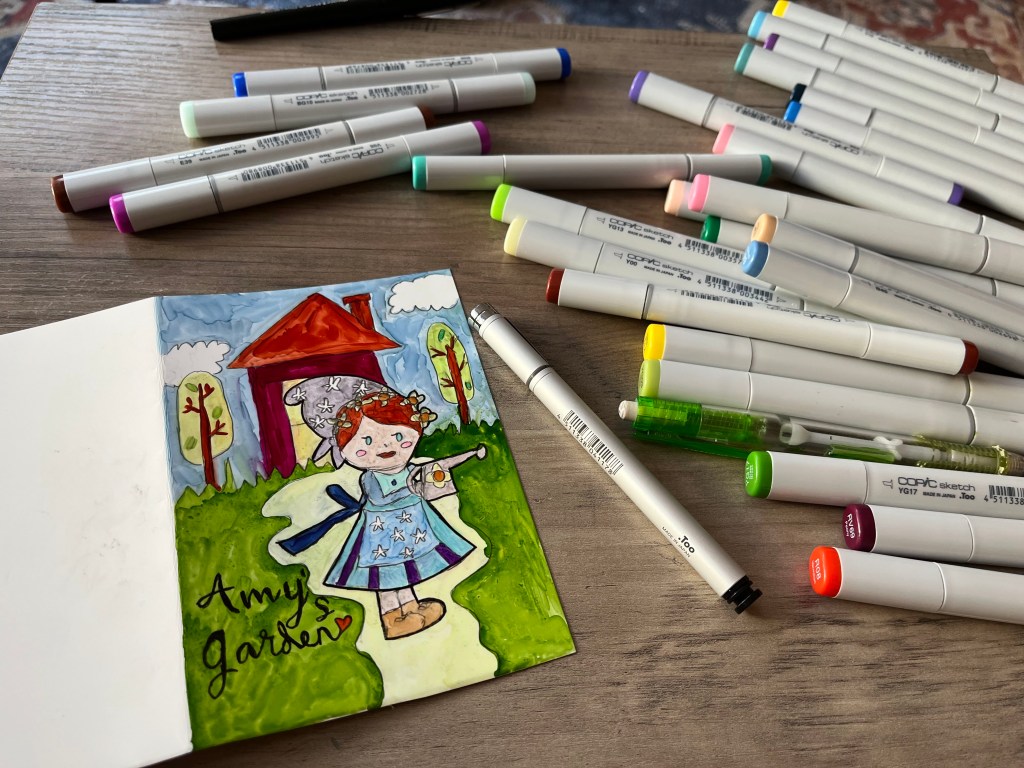
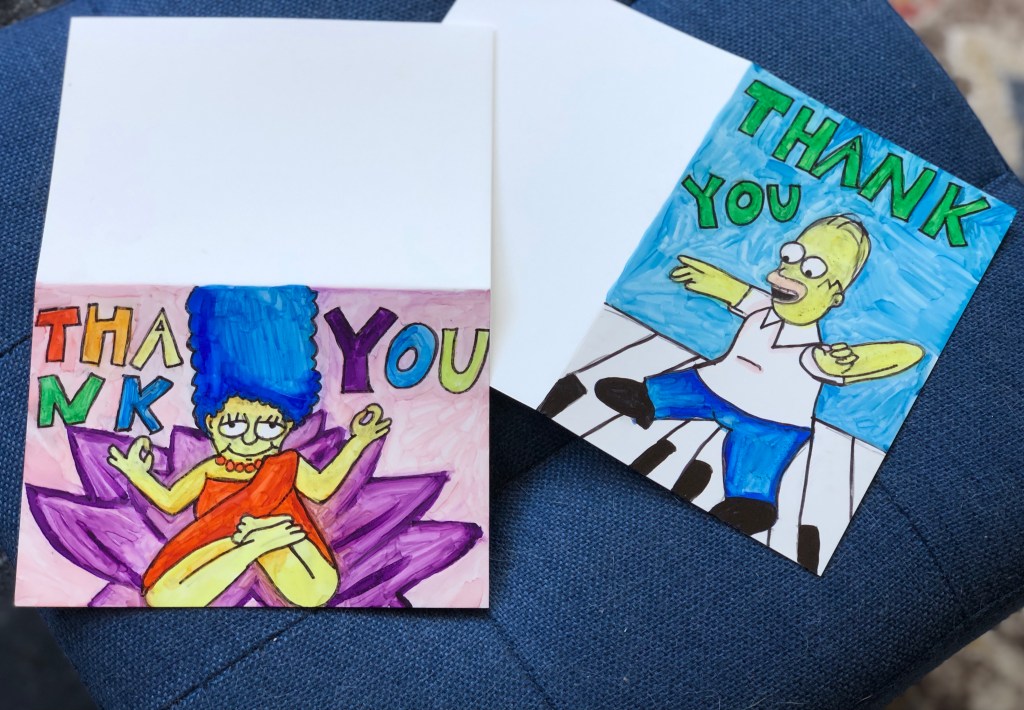
Hand drawn cards made using Copic markers on card stock.
I usually make my handmade cards using white card stock as a base, but occasionally I will use colored card stock depending on the design. I will often begin my cards by selecting a design personalized to the gift receiver or occasion. I almost always use a reference (a photograph, clipart, or relevant images I find through a Google Image search); to this end, full credit to the original artists and photographers whose works I use for references to create the drawings for my cards. After sketching out my desired design, I use Copic markers to color and shade my drawings. Occasionally I will also use Prismacolor color pencils in tandem or as an alternative to Copic markers.

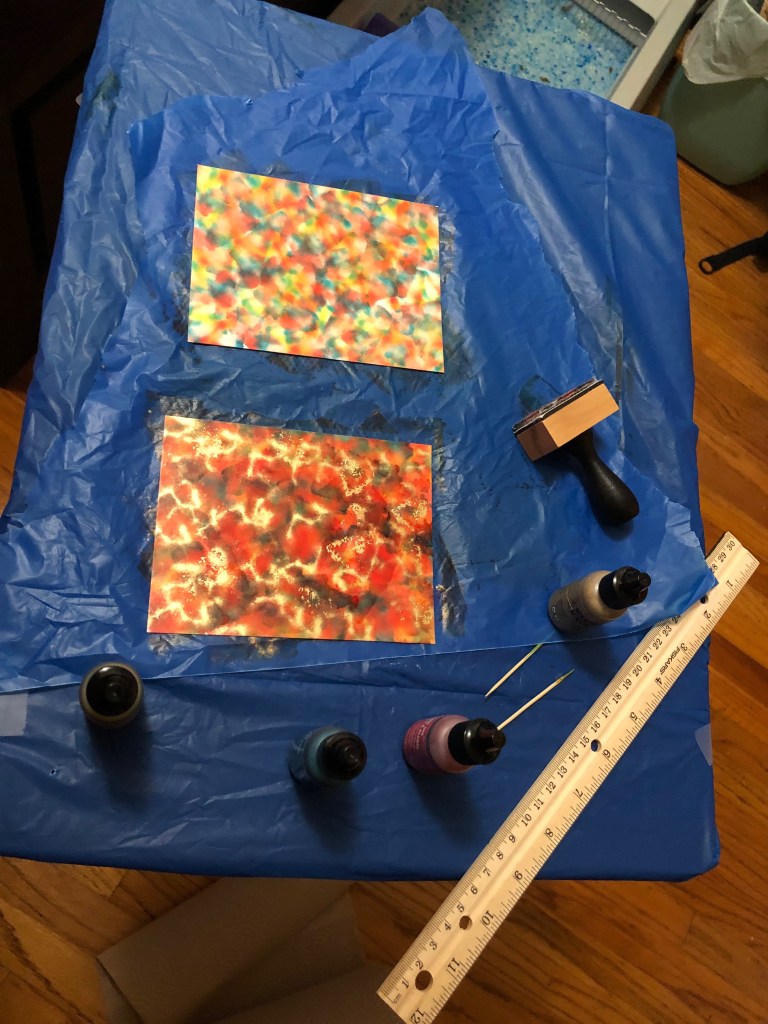
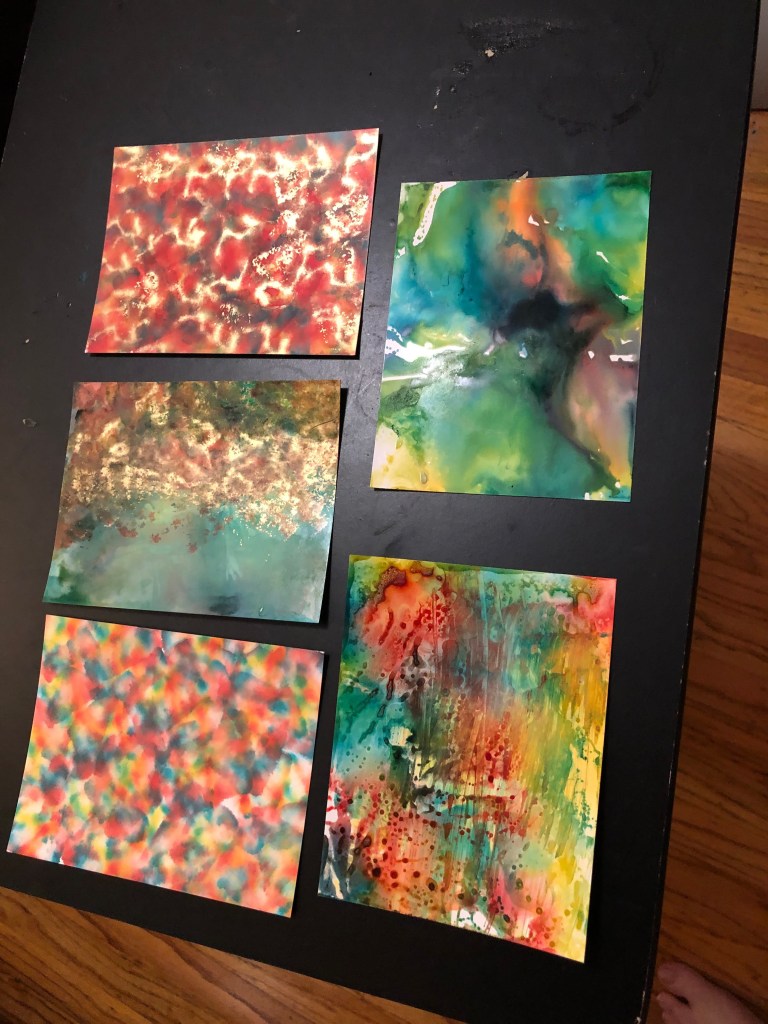
As an alternative to a figural design, I also like to use alcohol ink to make more abstract card designs. This is done my either putting the ink on a waterproof plastic sheet and dipping a photopaper stock in the ink or using a stamper loaded with alcohol ink to stamp a desired design (or both techniques). With my alcohol ink cards I will either leave them as is, or use stamps (often black so as not to clash with the pattern of the alcohol ink) to add an extra contrast to my colorful patterns.


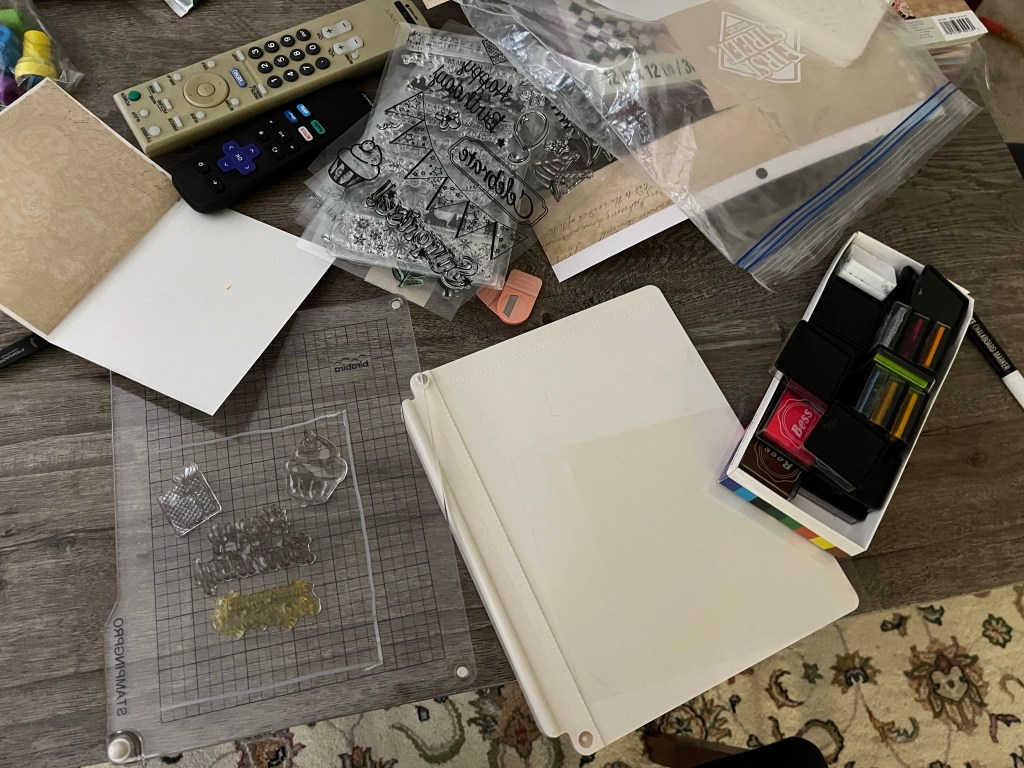
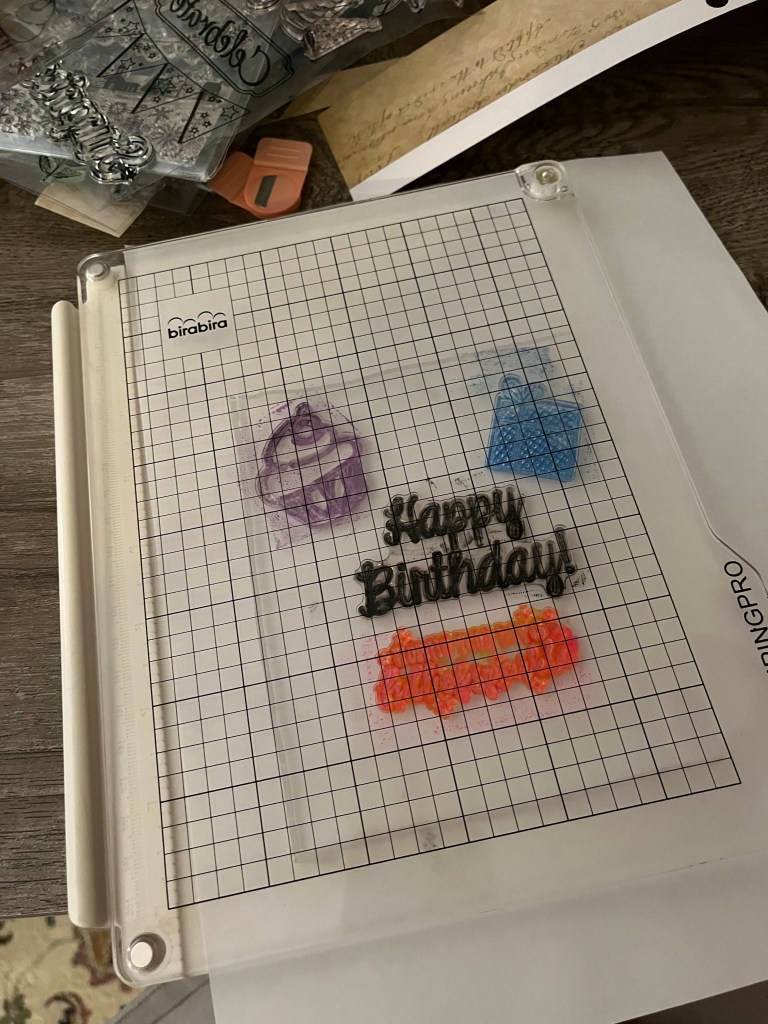
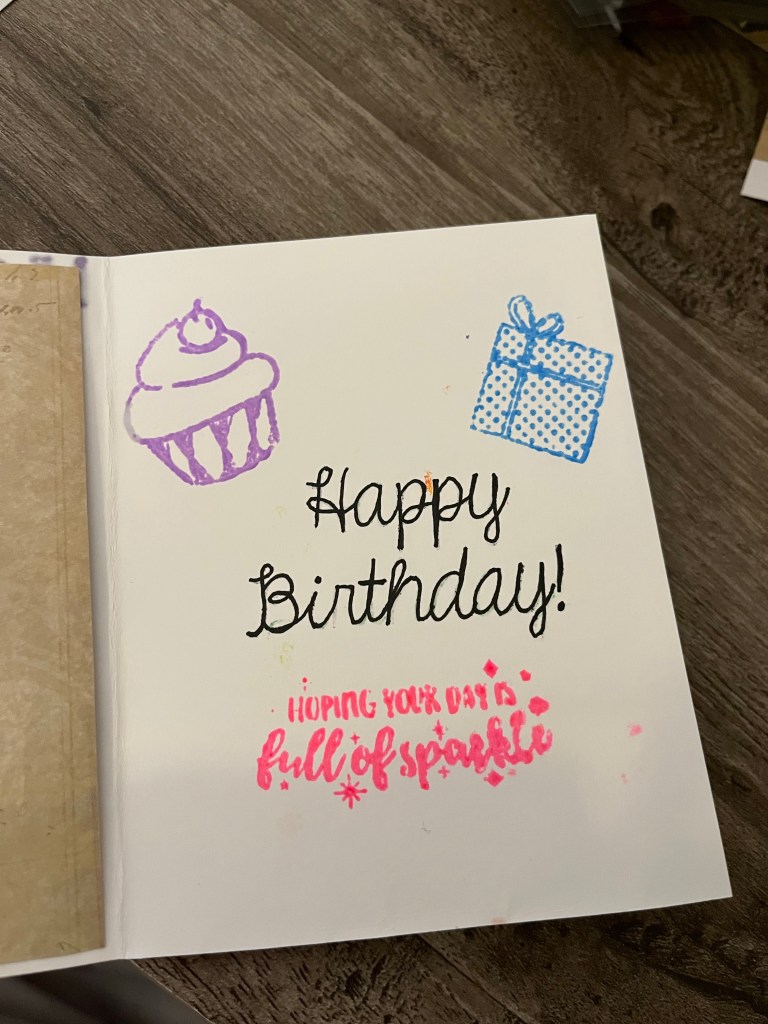
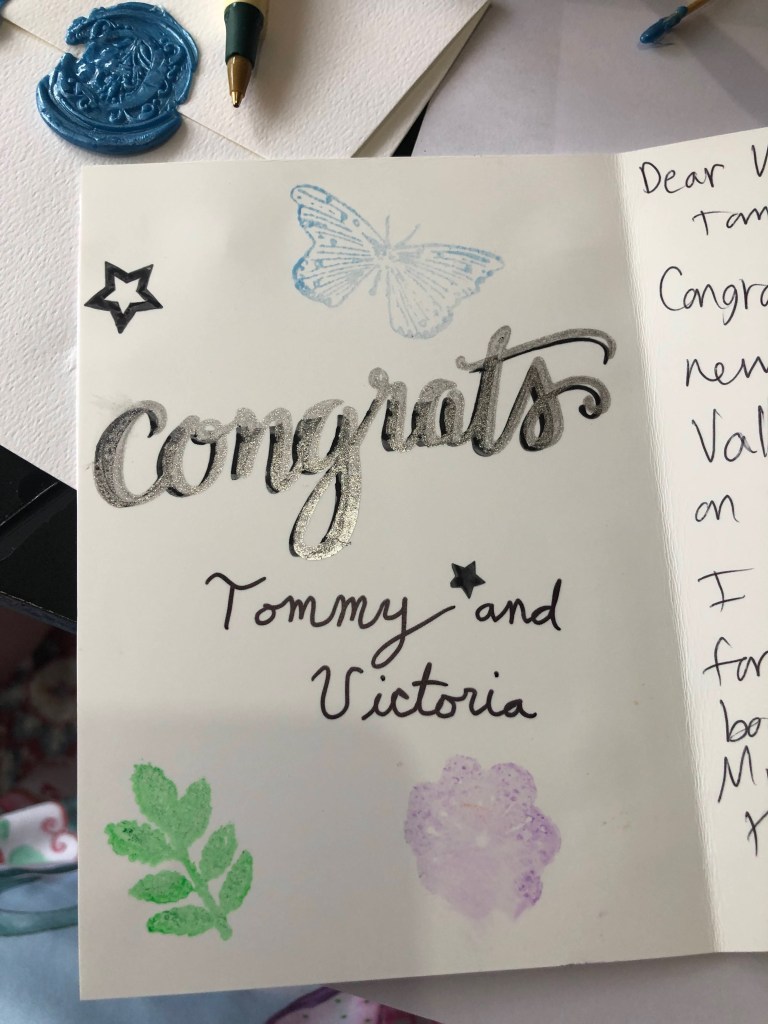
For the interior of my cards I use stamps, a stamp press, and varying colored inks to create personalized messages. I will also sometimes use stickers to compliment the stamp work. A stamp press is a plastic surface on which you can affix desired stamps and then press the inked stamps down on your card (which is held down with slim magnets).
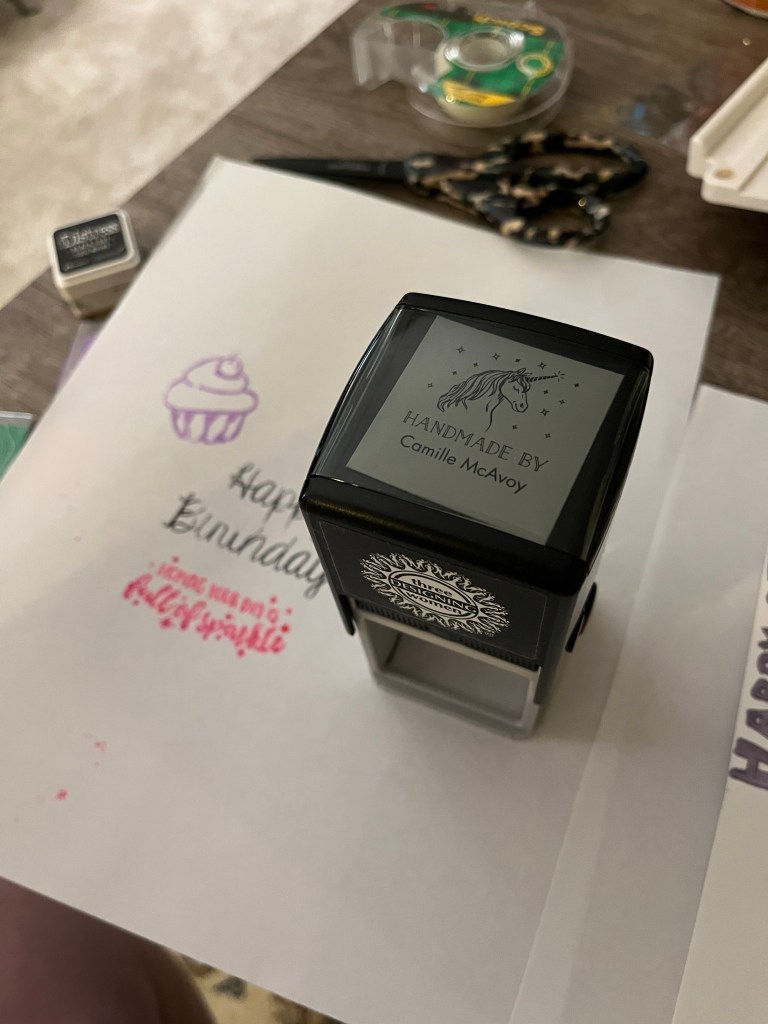
I first use a chalk marker to mark an outline of my card on the grids provided on the stamp press. I then arrange my stamps as desired, usually with large text in the center (like “Happy Birthday” or “Congratulations ”) and then add various stamps around the central design (such as a cupcake, a present, flowers, animals, etc). I then load up the stamps with ink (often different colors for the objects and black for the central text) and use a regular piece of paper as a rough draft to make sure the design looks the way I want it to before stamping it on the final card. Once I am satisfied with the design, I simply place the card in the stamp press and press down after re-inking my stamps. If I’m feeling ambitious, I will sometimes do another text color over the black (such as silver or gold) to make the text pop.
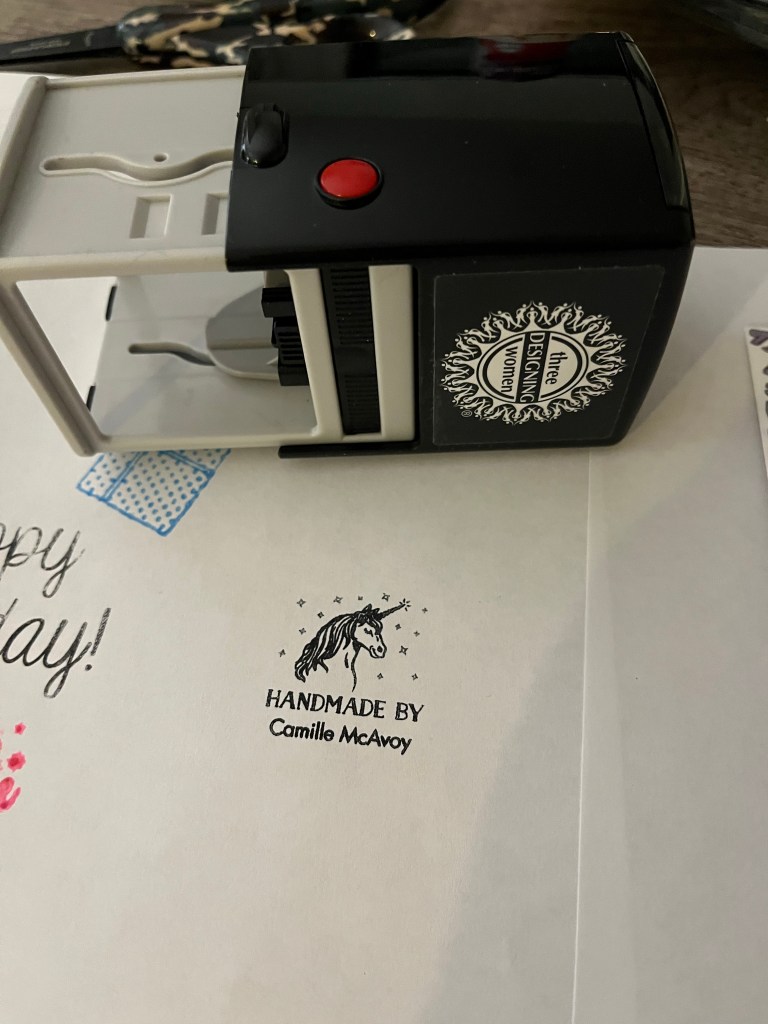
My final special touch for my handmade cards is to stamp my customized “Handmade by Camille” stamp on the back of each card. I purchased this stamp from Paper Source, and I use it all the time on my handmade cards as well as on gift tags for my handmade presents (which include knitted items, soap, bath bombs, jewelry, and many other giftable crafts). Overall, I really enjoy making personalized cards for special occasions, and I especially like having the opportunity to use a variety of different media (sketching, markers, color pencils, stamps, etc.) to make a composed and unique final product.

One thought on “Card Making”