As a chemist and craft-lover, I thought it might be fun to combine these two passions into a chemistry of crafts segment on my blog. Bath bombs have some pretty basic (and acidic) chemistry: they work by the acid-base reaction of citric acid with baking soda to form carbon dioxide (the same bubbles you’d find in carbonated drinks like soda). The chemistry works like this:
The baking soda (or sodium bicarbonate) reacts with the acid (protons or positively charged hydrogen ions) to form water and carbon dioxide (bubbles or “fizz” from bath bombs). The sodium and the citrate (the part of the citric acid that is not hydrogen) are spectator ions and do not participate in the reaction. Citric acid is found in lemon juice and can be used to make things taste sour. Baking soda is often used in baking to make baked goods rise (like Irish soda bread, for example).

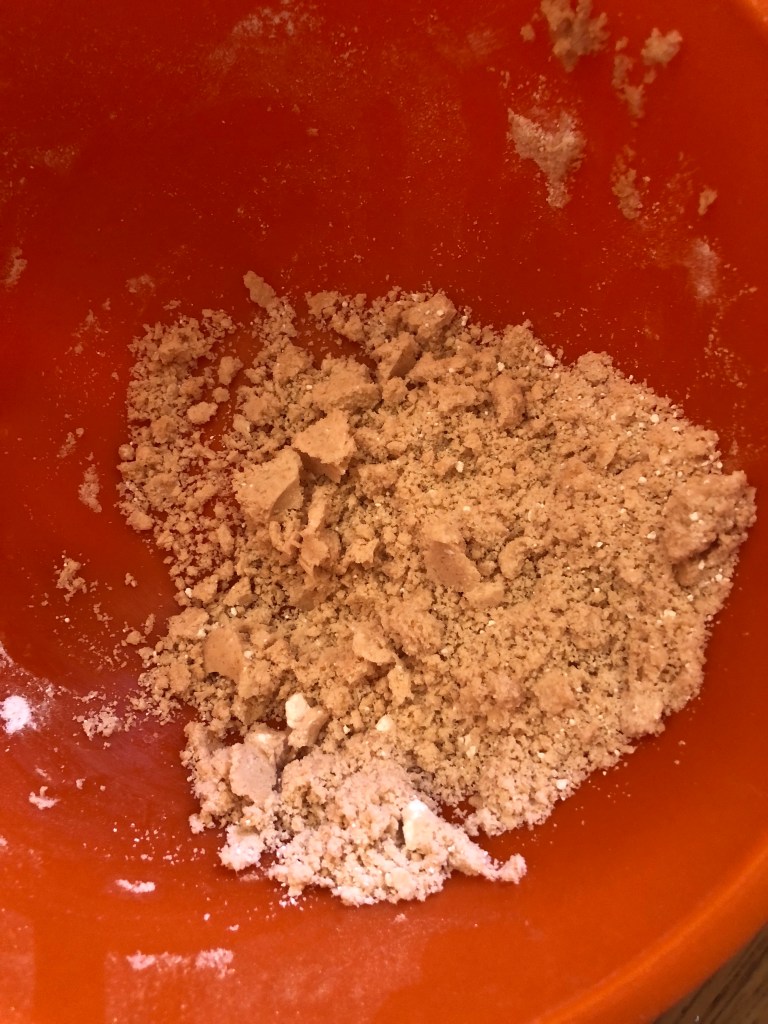
So how are bath bombs made? Citric acid and baking soda do the “fizzing” chemistry. To make bath bombs be moisturizing, an oil is often included. I like coconut oil for a few reasons. It is a solid at room temperature but can easily be melted (even just from the warmth of your hands) meaning that you can mix it into your bath bomb while warm and then the bath bomb will harden and be more stable. It is also a great moisturizer for the skin. Another component of bath bombs is an inert filler (something to take up space and not do the chemistry) and for this corn starch is often used. Epsom salt, or bath salt, is another common component of bath salts and will give your bath a mineral quality since it is made of magnesium. Mineral baths are are also known as beauty baths historically and are skin soothing. The final components of bath bombs are color (in the form of colored mica powder or dye) and scent (in the form of essential oils). A few drops of water are added (slowly, so as not to generate carbon dioxide) to get the bath bomb to a wet-sand like texture for the bath bomb to be molded. I used a recipe similar to this to combine all of these ingredients for my homemade bath bombs.

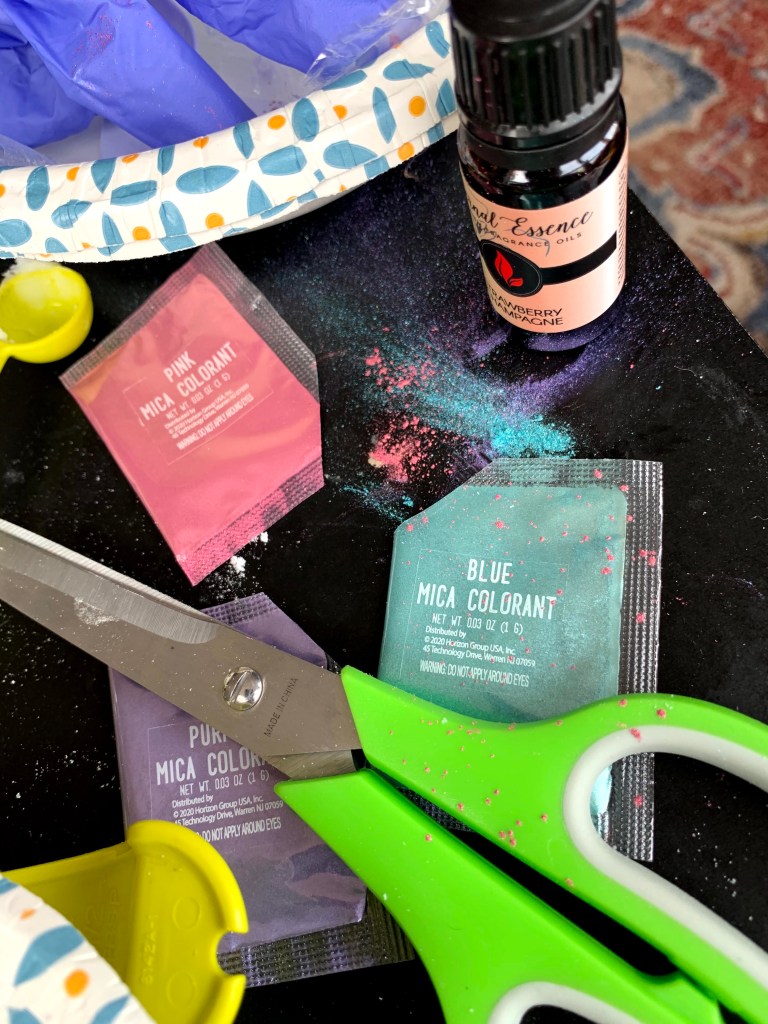
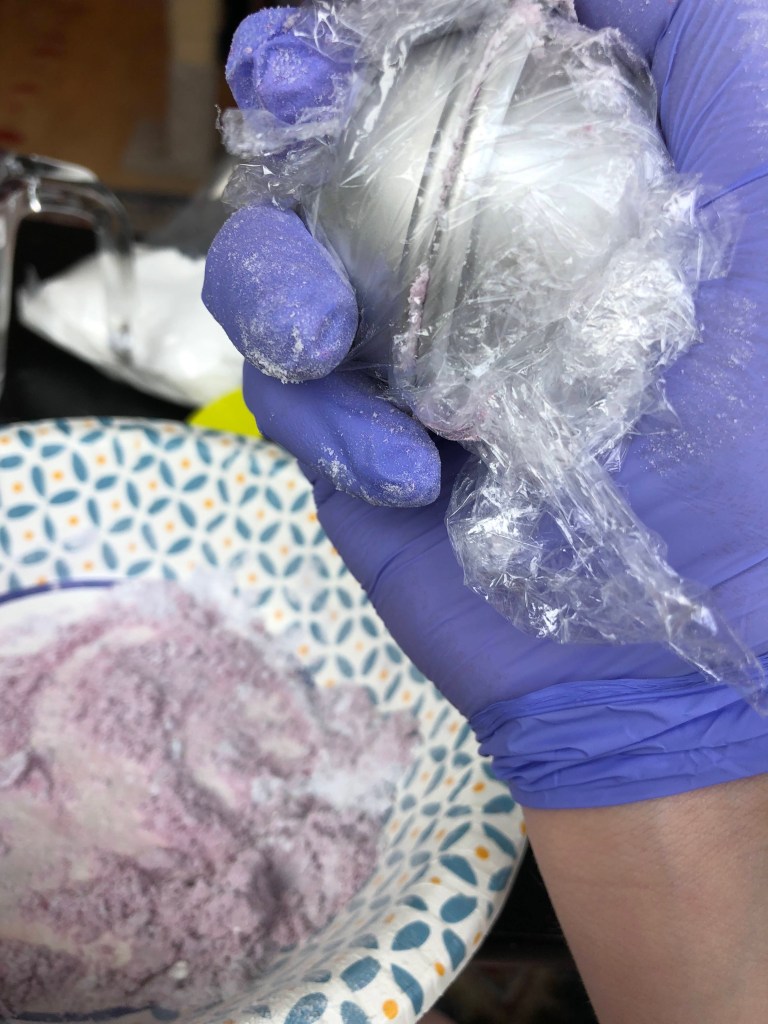

The basic idea is to combine your dry ingredients, add your wet ingredients, and add your personalized colors and scents. For my bath bombs I started with a purple and white swirl to make a lavender vanilla bath bomb. I then went on to make a lavender and strawberry champagne bath bomb, a fruity rainbow bath bomb, and pumpkin spice scented mooncake bath bombs. For molds, I used metal tin spheres and a mooncake press (all advertised on Amazon as bath bomb molds).

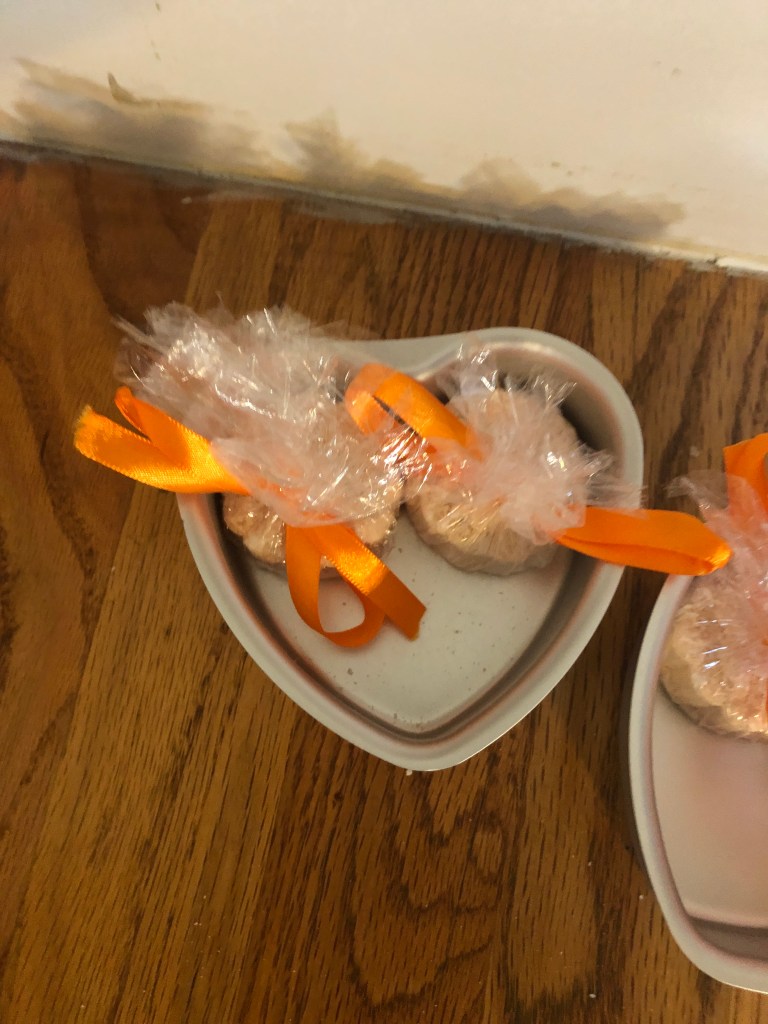
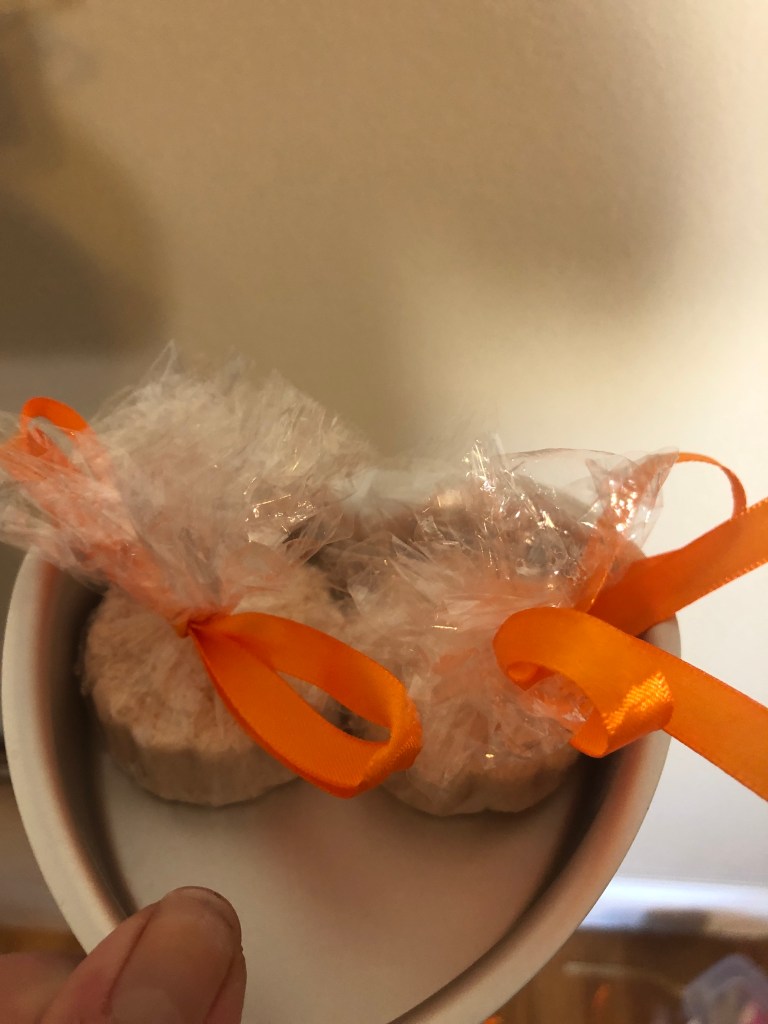
A few of my lessons learned from bath bomb making: wear a mask and gloves and give yourself plenty of space to make a mess! The ingredients are best mixed together by hand but if you don’t want to get dirty and smell like essential oils for days, I strongly recommend gloves like these nitrile gloves I got on Amazon (as a chemist, I always wear nitrile gloves in the lab for both my safety and to prevent continuation so this is a familiar protocol to me). When making bath bombs, you are working with particulate which can easily be inhaled, which is why I recommend a mask so you can breathe easy while working with dusty material. I also recommend using plastic wrap in bath bomb molds (or with the mooncake press) to keep the bath bomb intact and help remove it from the mold. I like dressing up the bath bomb with a fun ribbon.
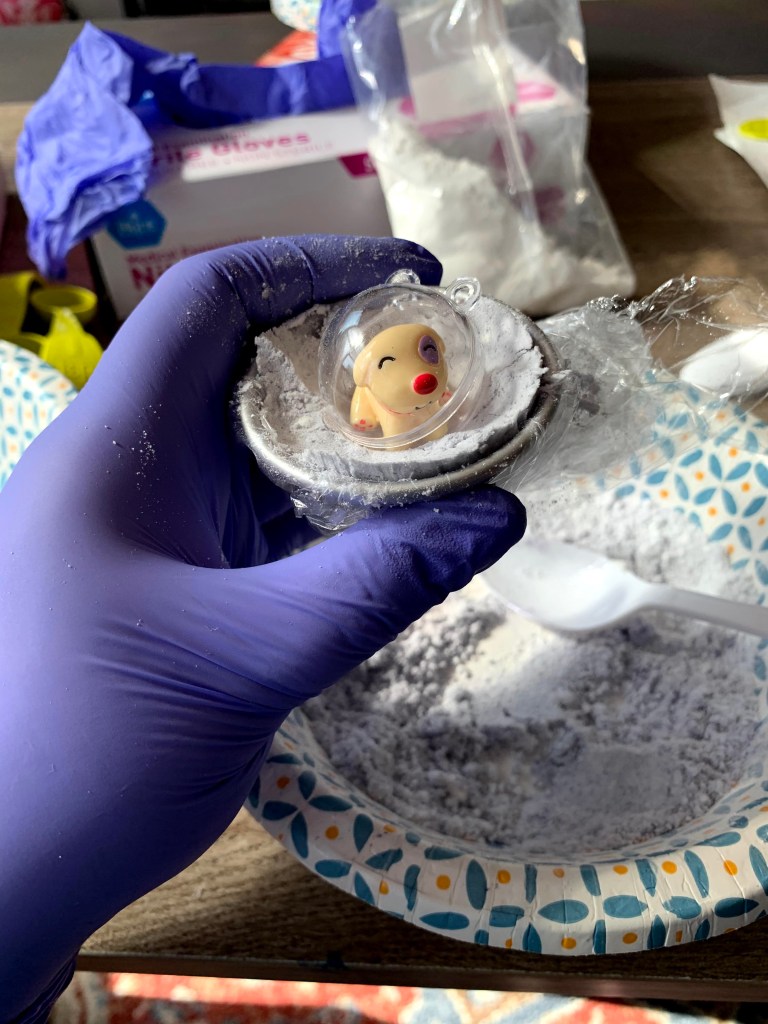
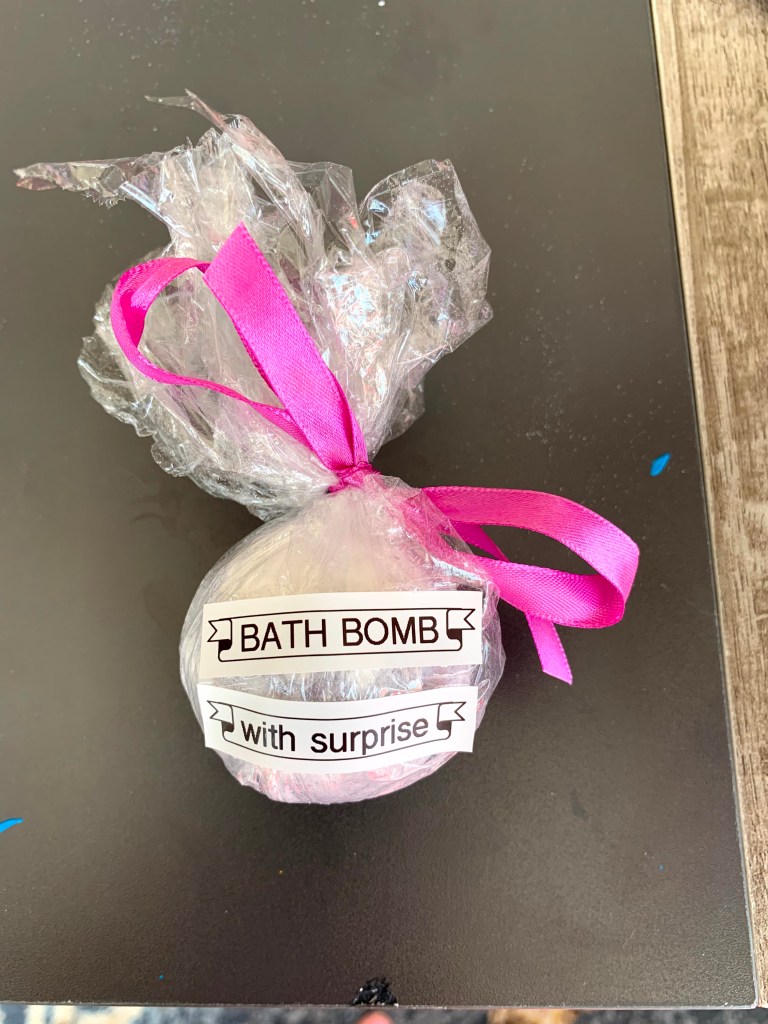
Bath bombs can also have a fun surprise in side! I get small plastic bubbles on Amazon and put either homemade jewelry or cute animal figures in them for a special bath bomb treat. It’s so secret that I love baths so use your fun bath bomb creations to treat yo self or a friend to a relaxing pamper! I hope you enjoyed learning about the chemistry of bath bombs and the purpose of the ingredients used to make these relaxing treats.

2 thoughts on “Chemistry of Bath Bombs”