This craft involves many of my favorite things–beautiful scents and colors, nostalgia, the impression of wine. I got into making candles from old wine bottles as I get into many of my crafts: I saw one once (at a gift shop in Napa while taking the Napa Wine Trolley) and thought–I could make that! Getting started with this craft involves investing in some supplies (namely a wine bottle cutting kit and a candle making kit–there are many versions of these items on Amazon and elsewhere; I have linked two examples that should have everything you need). Once you have the basics you can really expand the variety of candles you can make with essential oils for scents, pigmented wax for colors, dried flowers, and other customizable options.
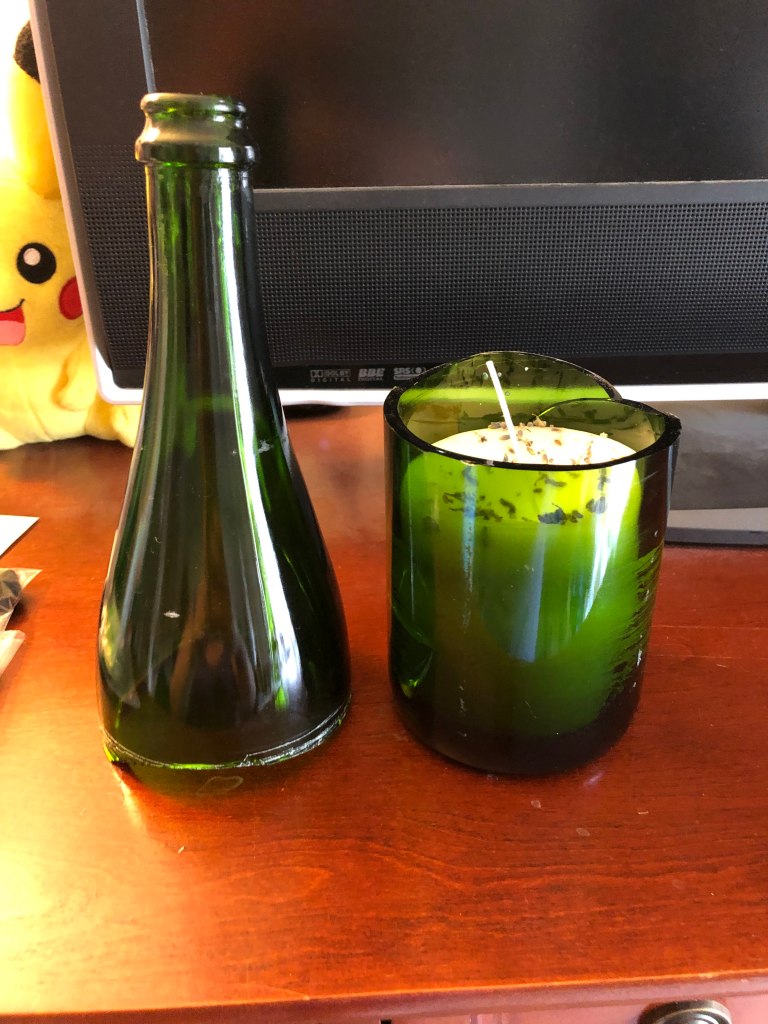
To start off you need to cut the wine bottle. The kit I used (and linked) works like this. You score the bottle with the blade by resting the bottle on the wheel-like structured and rotating it while pressing the bottle into the blade (small metal piece with a small circular blade like a tiny pizza wheel). “Score” means you cut the glass to make a line but not deep enough to break the bottle (this is because glass is thick and it would be hard to just cut it in one go). Next you attach O-rings above and below the cut line (I suggest checking the O-ring placement before you cut the line to make sure you cut it in a place where the O-rings can sit without popping off). Then you break the bottle using a series of hot and cold water steps. First, boiling water for 2 minutes to soften the glass, then 2 rotations of cold water, 2 rotations of hot water, 2 rotations of cold, and then wearing the protective gloves and keeping your eyes a safe distance away, gently break the bottle by pulling at both halves (in left and right directions) near the cut line. If the bottle is hard to break, continue the hot and cold cycle until it is easier to break. Sometimes my bottles will break imperfectly because my glass will crack where I haven’t scored it because of the stress of hot and cold. I haven’t yet figured out how to avoid this imperfection but will update this post if I do.
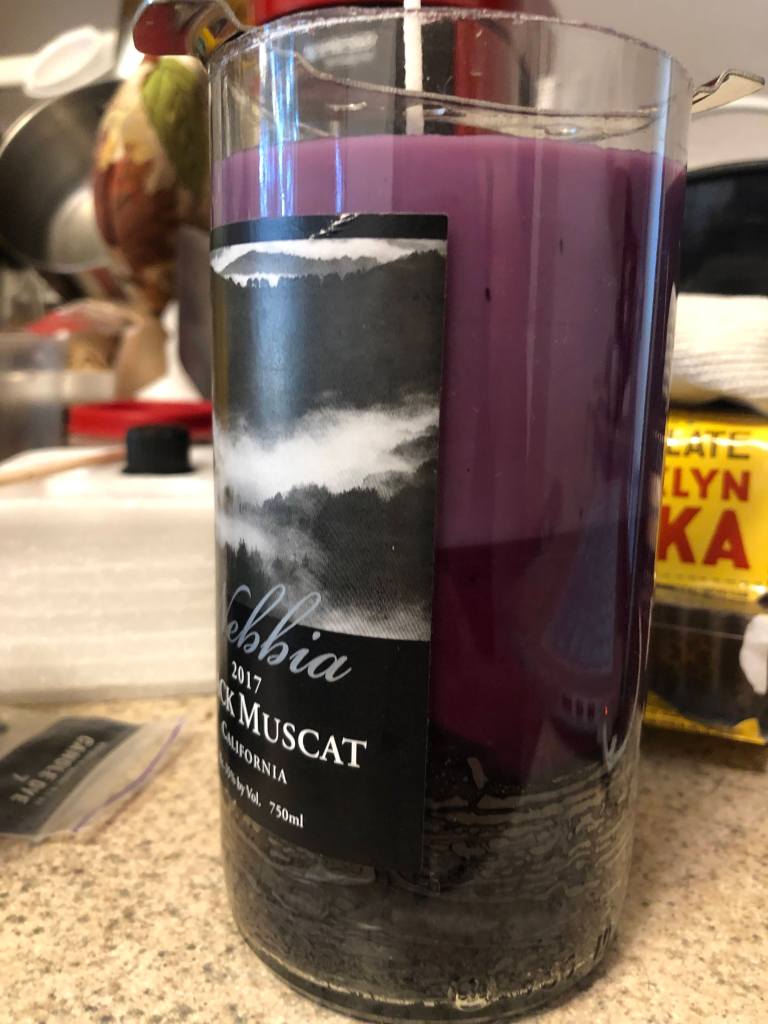
Next is the actual making the candle part. First you have to melt the wax. There are various ways to do this. Most kits come with a metal pitcher than you can heat up on the stove. This works (slowly). I prefer using a glass pyrex measuring cup to heat the wax up in the microwave. I heat the wax in 30 sec bursts, mixing in between with a popsicle stick, until it is melted. Once the wax is mostly melted, I add color by using pigmented wax. After this is mixed, I add scent by using essential oils (I like to use a lot, probably about 15 drops or more) because I like my candles to be very scented but this is personal preference. My kit said there is an optimal temperature at which to add scent, but I have just added it while the wax is melted at various temperatures and it has always come out pretty well so use your judgement. You can also add dried flowers or other mix ins to your candle at this stage.

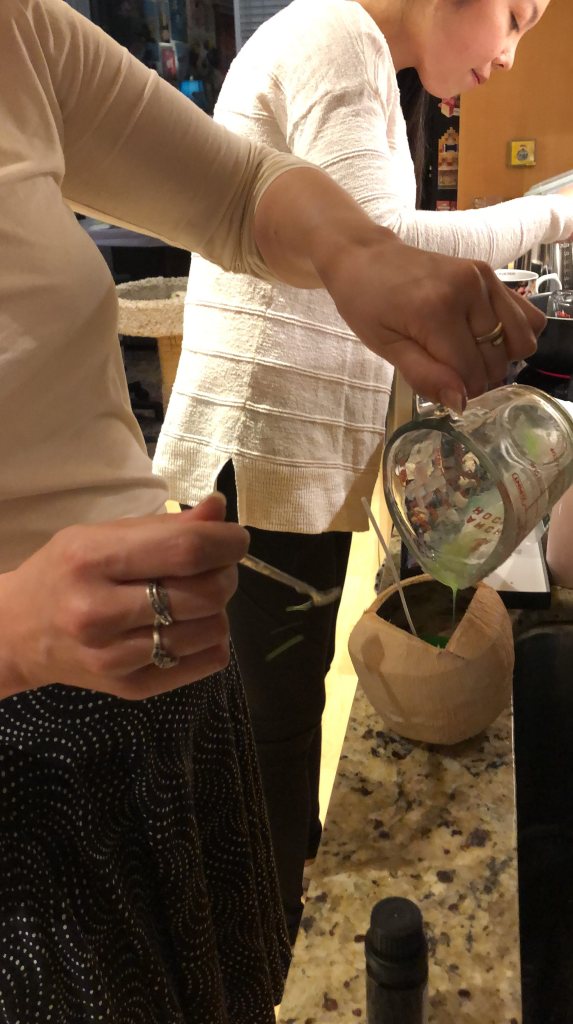

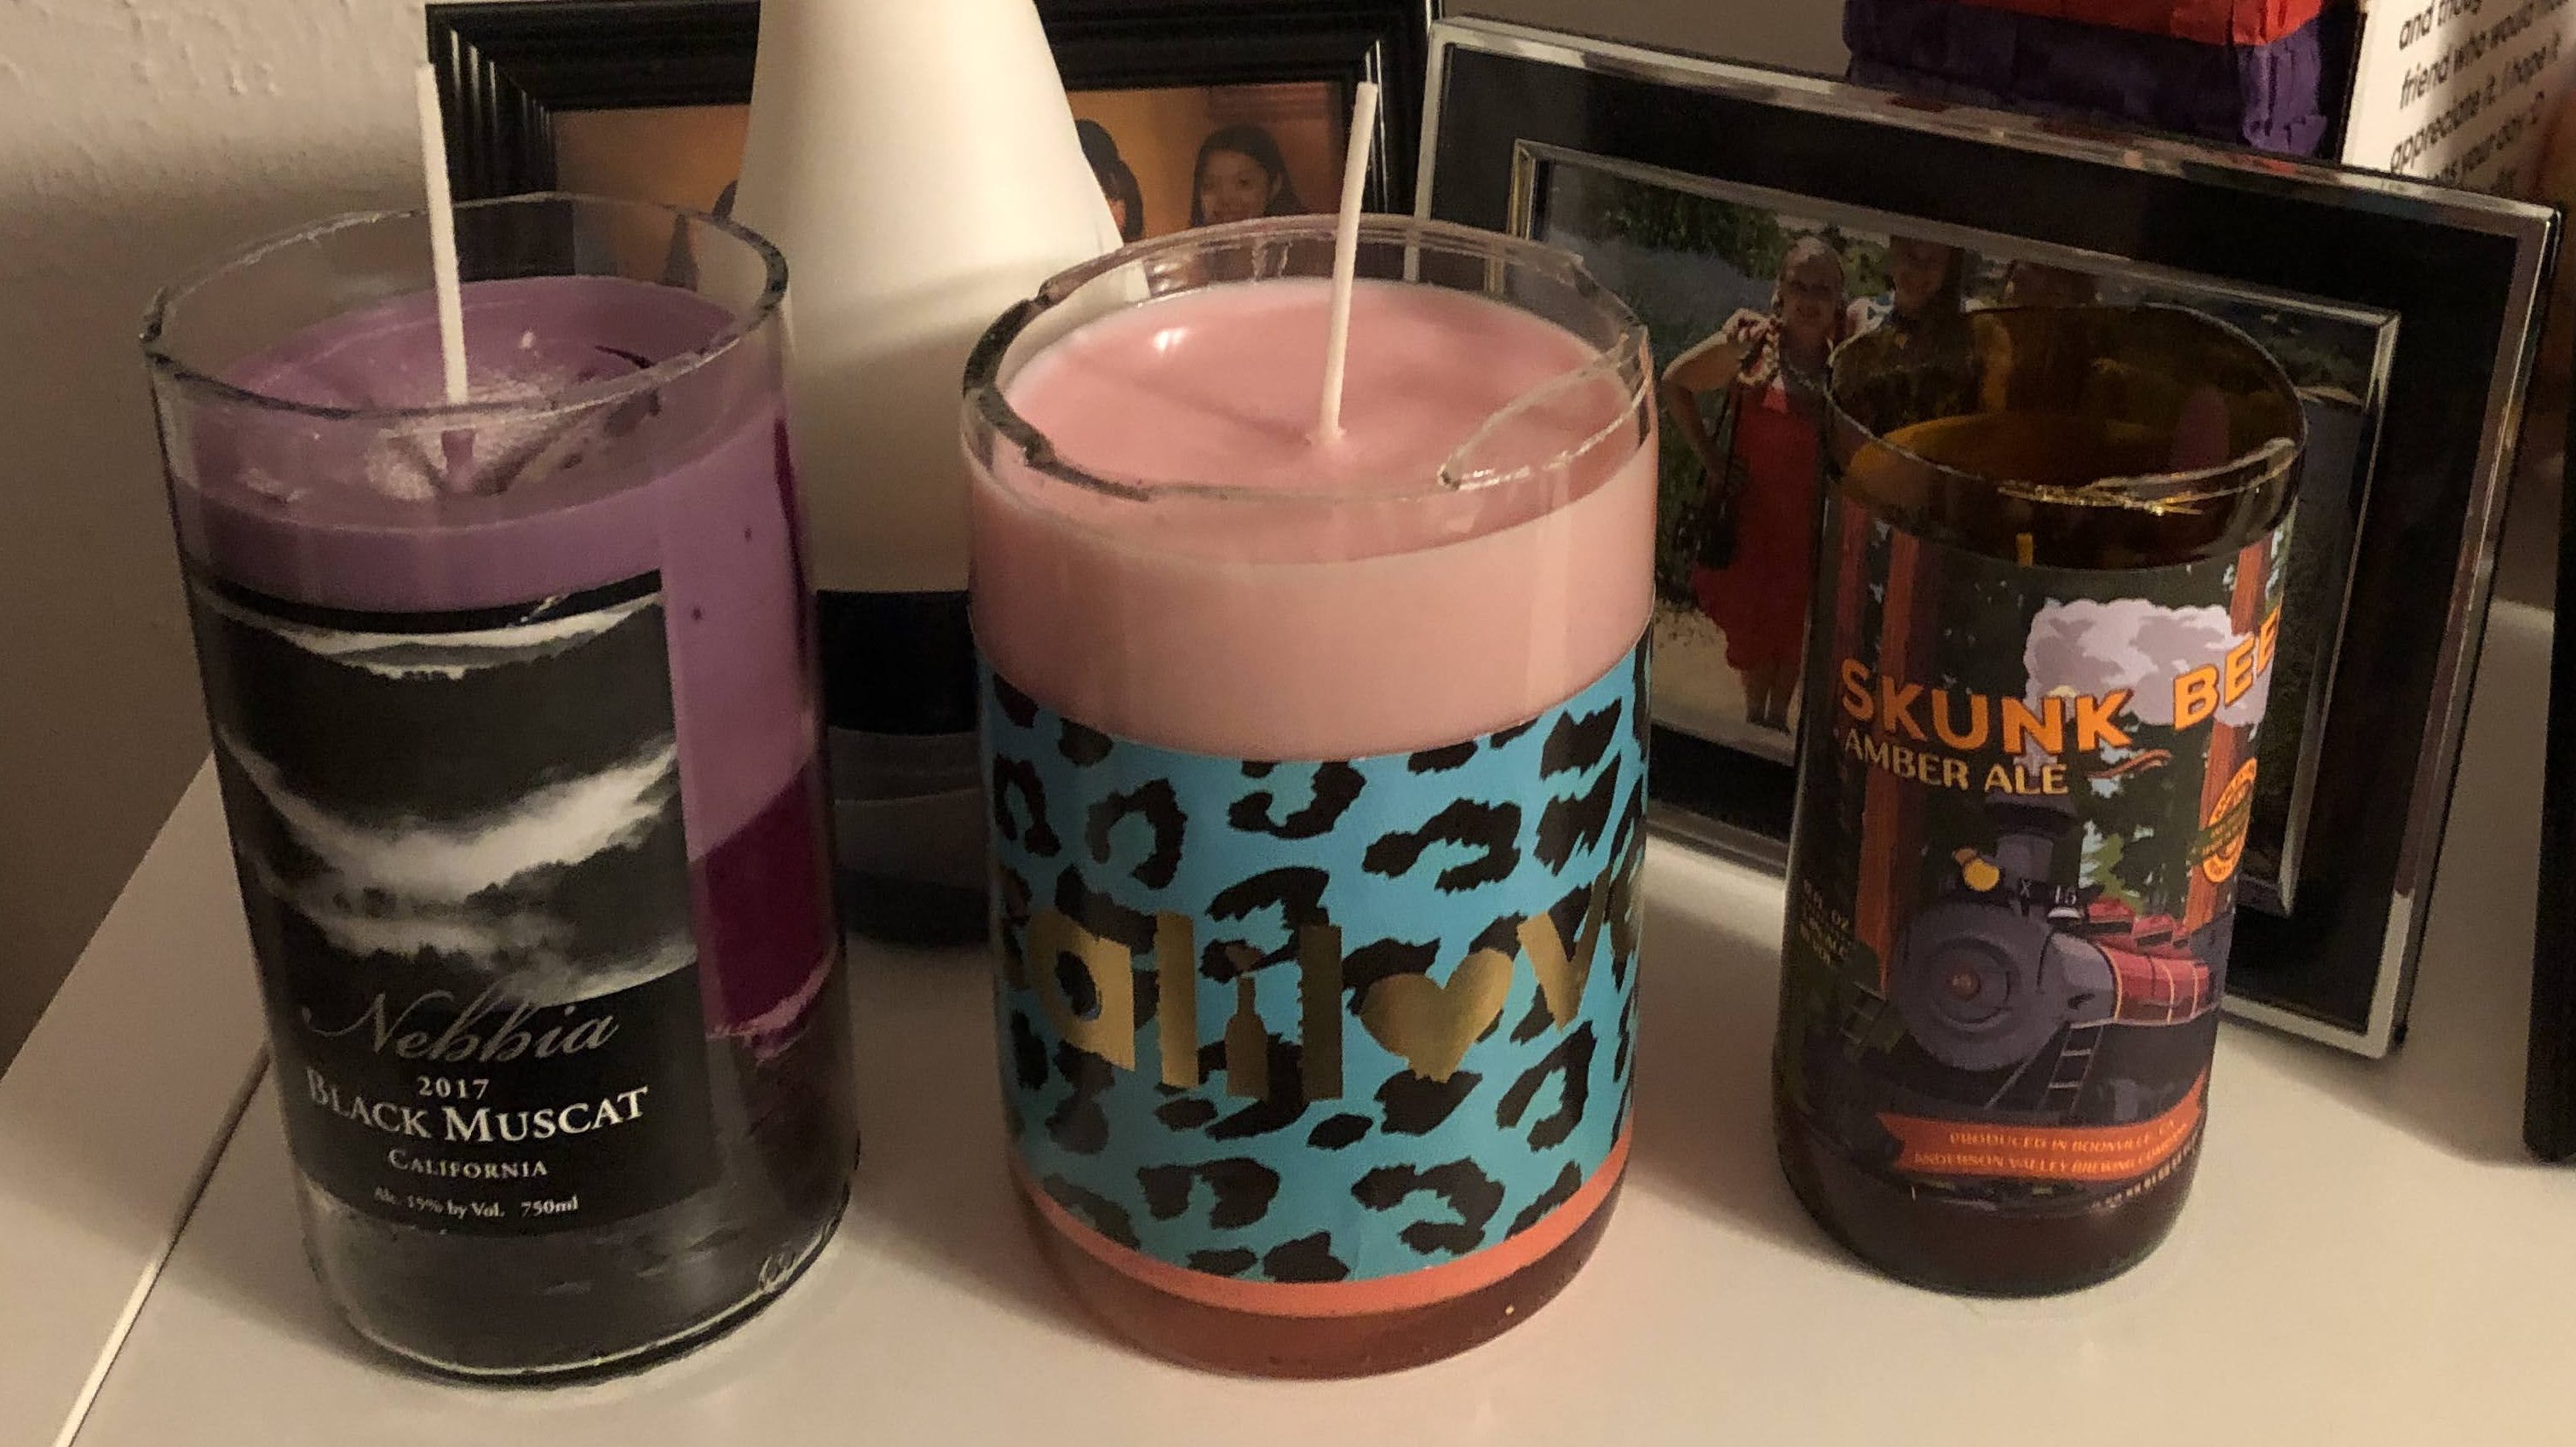
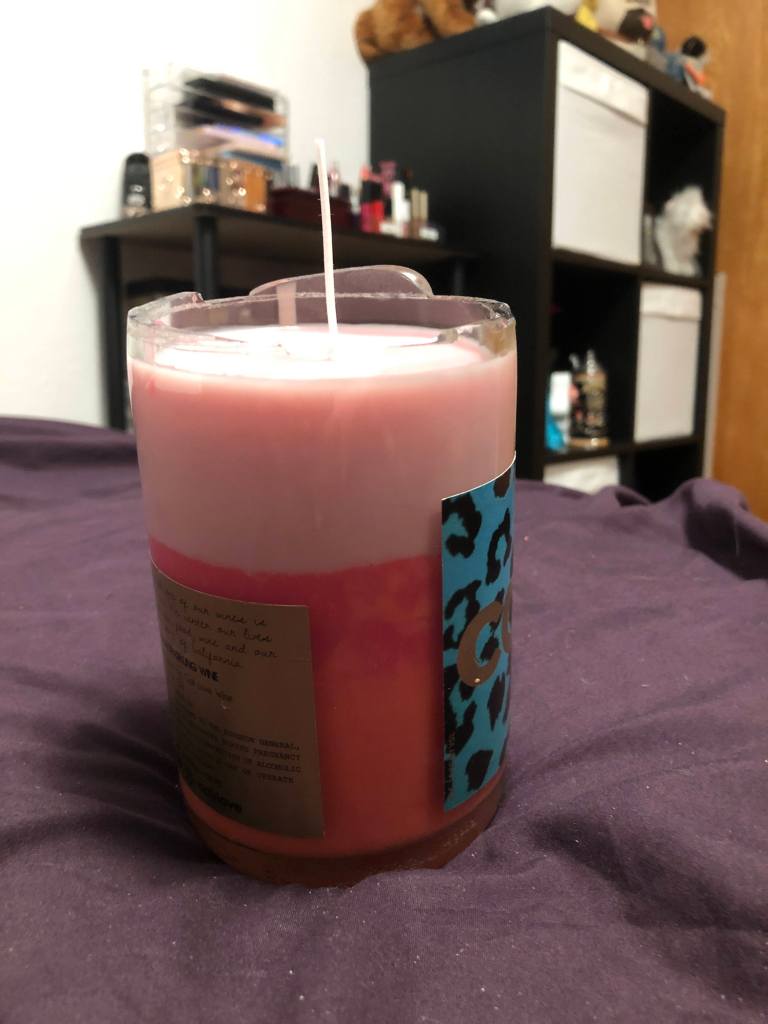
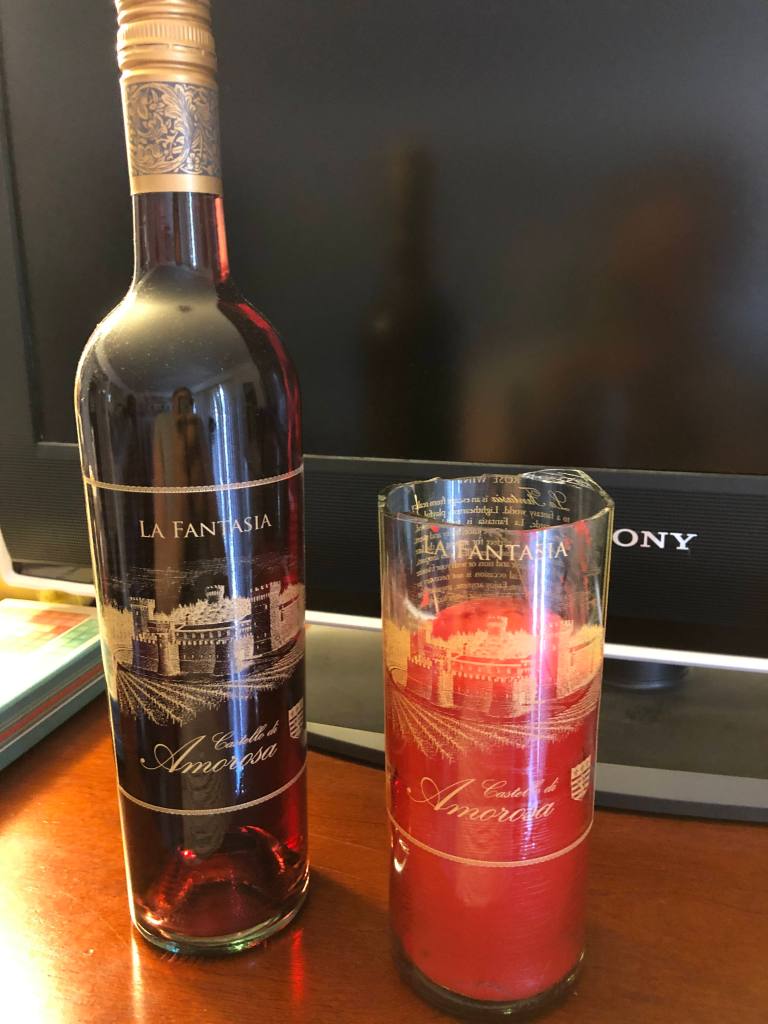
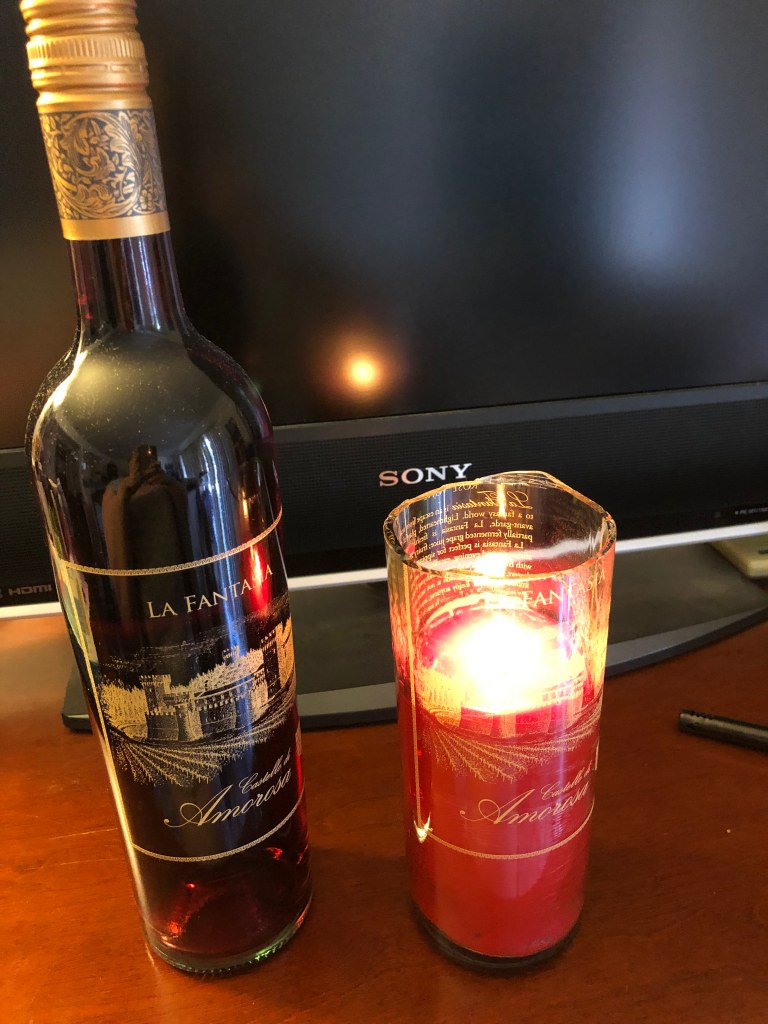
Make sure the wick is glued to the bottom of your bottle and secured in the center with the metal centering piece at the top before pouring your wax. Once the bottle is ready with the wick, pour your wax. I like doing candles in layers. Either all the layers can be the same (you are limited in volume by the vessel you melt you wax in) or different and distinct (if you let the wax fully cool in between layers) or swirled (if you add knew wax while the old wax is not fully cooled/set). Now you are almost done! Let your candle set (I usually let it set overnight but you can speed up the setting process by putting it in the fridge). Once the candle is set you can make a fun label. Either you can use the original label from the wine bottle. Or you can make your own to celebrate the occasion for the wine (or both, original label on on side, your label on the other).

I like to select the colors, scents, and mix ins of my candles to either match the original color and notes of the wine or the experience of the wine (e.g. a beachy scent if we had the wine at the beach, or lavender if we went through a lavender field the day we tasted the wine). This craft is fun and fully customizable so make it your own! You can make memorable gifts for yourself or your wine-loving friends.
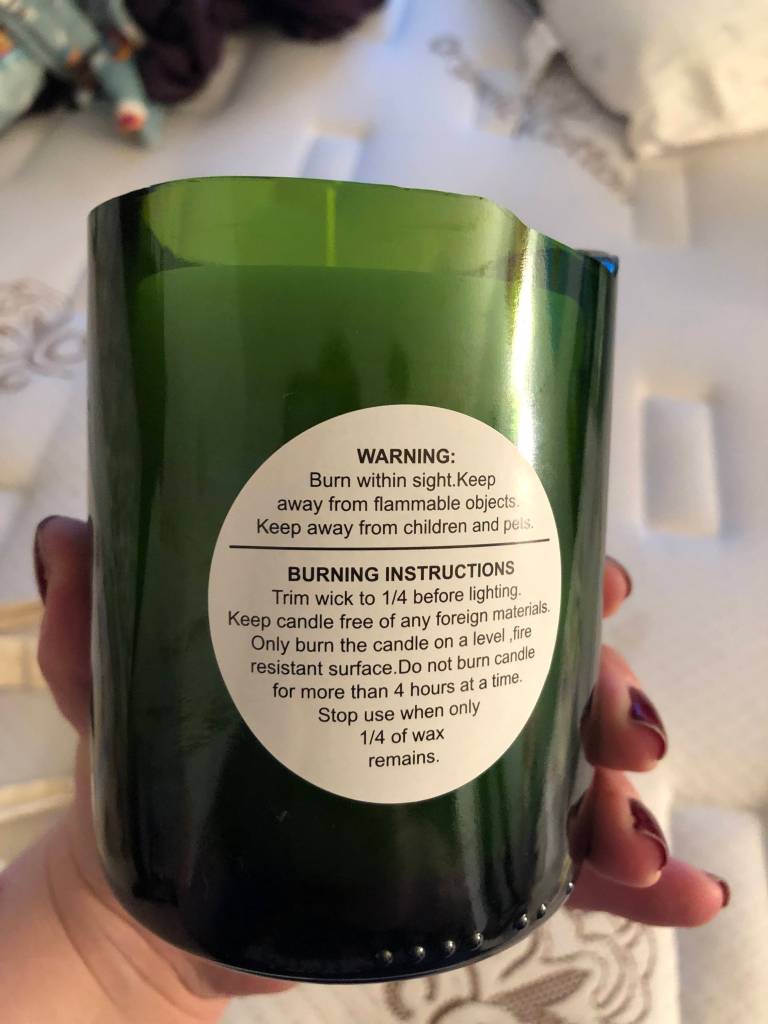
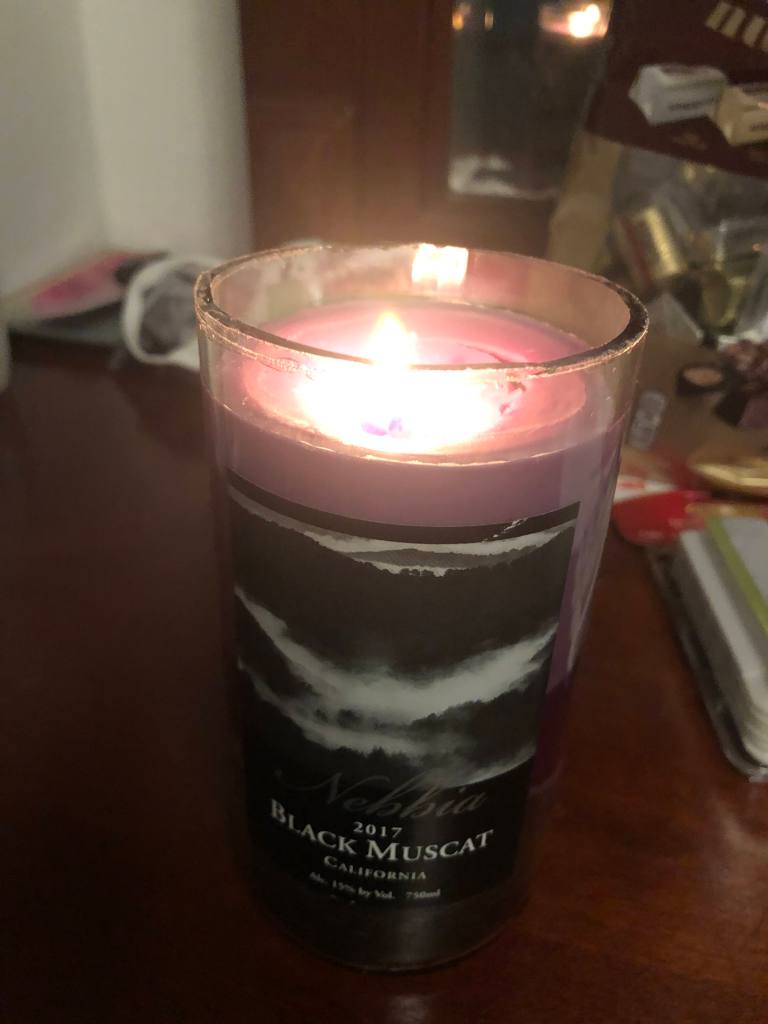
Burn your candles by first trimming the wick to a 1/4 inch or so and having them on a level, resistant surface. Enjoy your creations and happy wine memories!

3 thoughts on “Making Candles from Old Wine Bottles”